Shaping a Bread-and-Butter Solid Hull Ship Model
Chisels, Rasps, Knives and Sandpaper Help Merge the Curves
Work slowly and use templates to check your progress
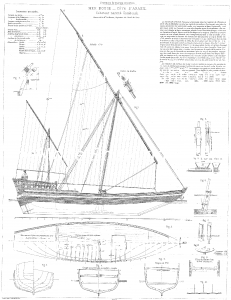
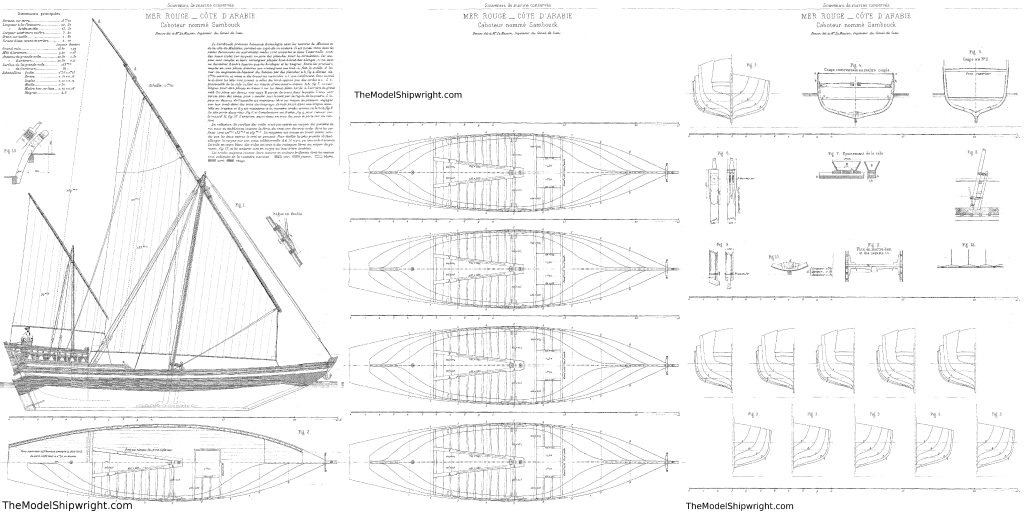
On page 1 of Building a Bread-and-Butter Solid Hull Ship Model, I described how to prepare the planks – called “lifts” by ship modelers – for a model of the Sambouk illustrated on plate 57 from French admiral François-Edmond Pâris’s work “Souvenirs de marine.”* We cut out the waterlines from the half-breadth plan, glued them to the planks, and created reference lines to align the planks when they are stacked up.
On page 2 of Building a Bread-and-Butter Solid Hull Ship Model, I showed how to use dowels to keep the lifts aligned, sawed out the lifts to the shape of those waterline patterns we glued to the planks on Page 1, and glued them together. This gave us a rough step-sided hull for our Red Sea dhow.
On page 3 of Building a Bread-and-Butter Solid Hull Ship Model, we used the section plan (sometimes called ‘body plan’) to create templates to use as a guide when shaping the hull to its final shape.
On Page 4, we created a template to determine the shape of the stem and stern of the ship, and completed the last few steps needed before shaping our step-sided hull.
On this page we will clamp the hull into our bench vise and begin shaping it.
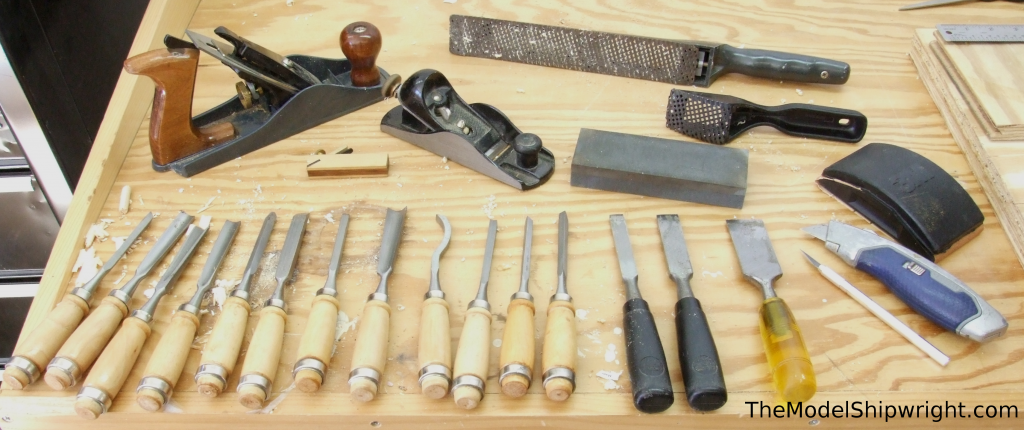
There are a wide variety of wood-working tools available for shaping a bread-and-butter solid hull ship model, as shown in Figure 46. Clockwise, starting at top left I have three planes, two Stanley Surform rasps, a sanding block, my utility and hobby knives, standard wood chisels (with a honing stone above them), and a variety of specialty gouges and chisels. Truth be told, I will use the three standard wood chisels for about 80 percent of the shaping, but the gouges come in handy for tricky spots such as along the rabbet (where the bottom planking meets the keel), or other reverse curves.
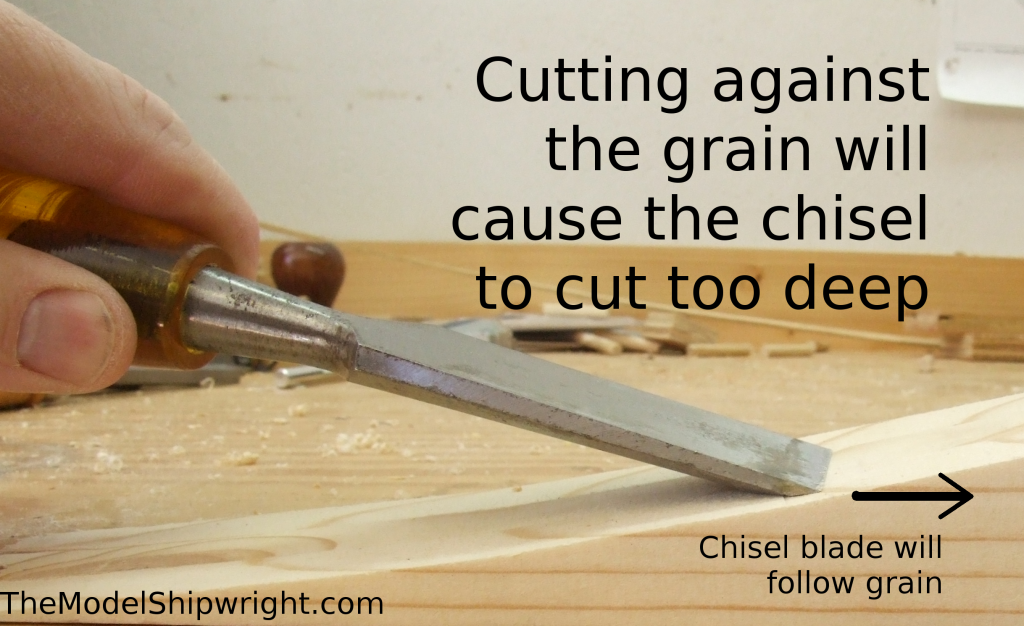
Keep in mind when using a knife, chisel, or gouge to avoid cutting against the grain, as shown in figure 47a. If you do, the blade will dig too deep, or the wood will split along the grain lines.
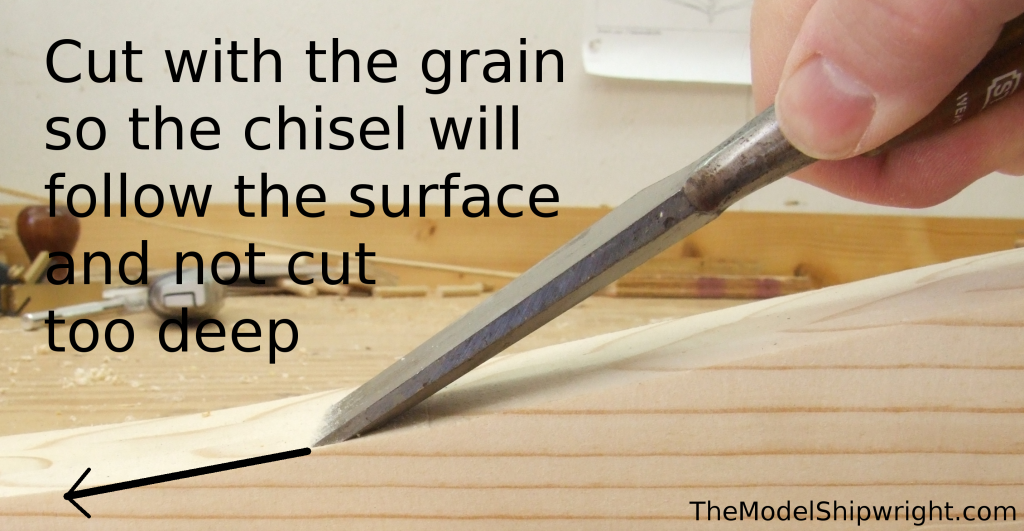
Figure 47b shows the chisel cutting in the direction of the grain, which will ensure it can be controlled to only remove a thin layer of of wood. Keep the angled side of the blade down as well, so the chisel doesn’t dig in. If you keep a sharp edge on the chisel, you can remove very thin layers of wood this way. The curve of the hull means you will have to cut toward the bow on the front half and toward the stern on the back half to be cutting with the grain, but the “break point” where the grain changes direction may not be the exact middle of the hull. On mine, it is between section #5 and #6. I marked this point with arrows using a Sharpie marker to remind myself to change direction when I reached it.
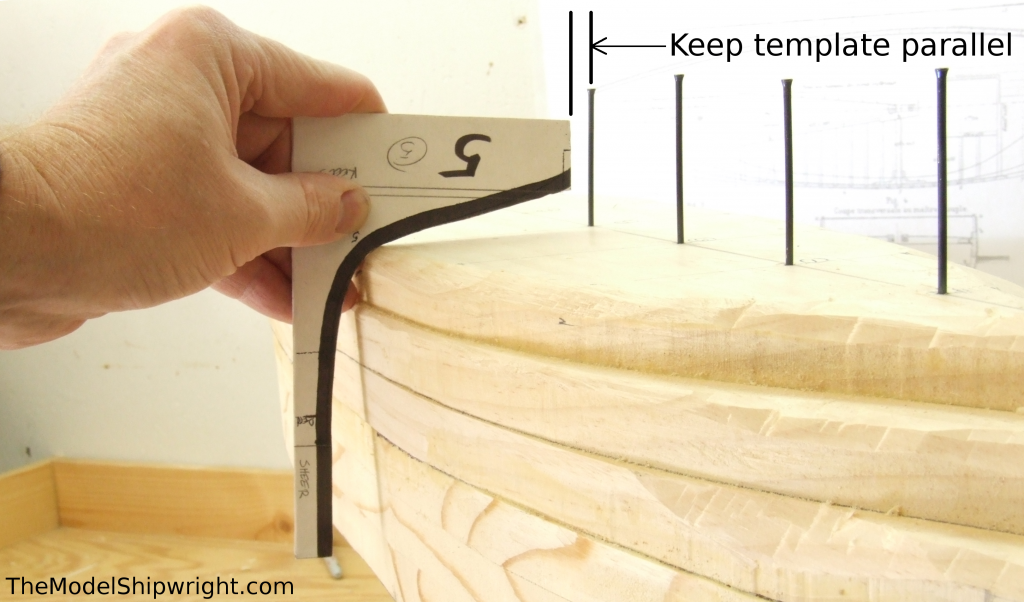
To get started, I put the nails into the reference holes I drilled on Page 4. Then, using each template in turn, I placed it in position, keeping the keel line parallel with the reference nail, as shown in Figure 48.
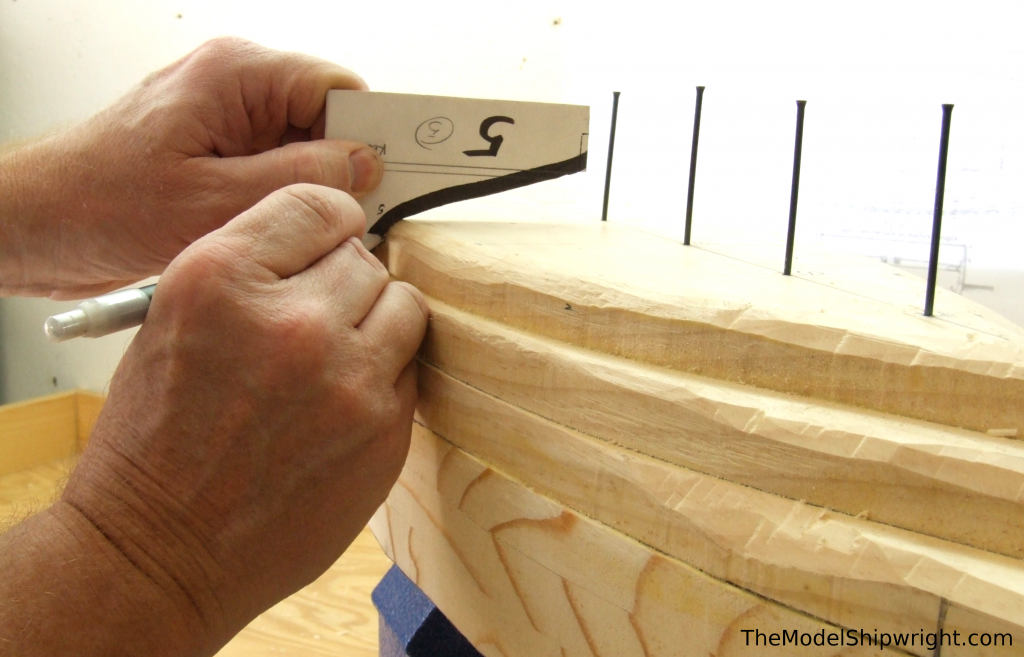
Then, with a pencil, I marked where the template touched the hull, as shown in Figure 49. Since much of the template does not touch the hull, the points where it does indicate high spots – that is, wood that needs to be removed for the template to rest in its proper position. After removing the template, create some cross-hatching over the line you marked to make it easier to see what must be removed, as shown in Figure 50.
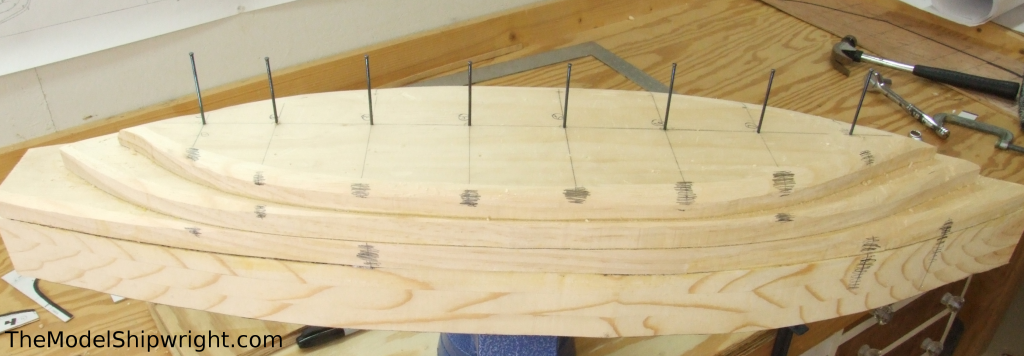
When all the sections have been marked, you will begin to see a pattern to what wood must be removed, as shown in Figure 51.
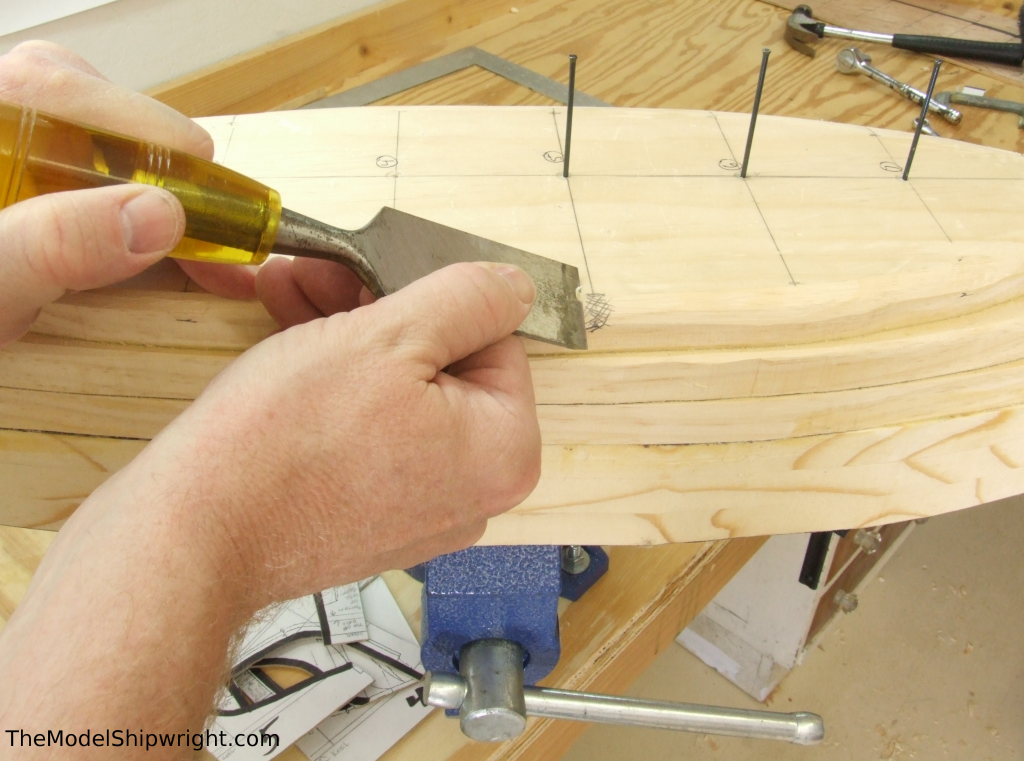
Use both hands to guide the chisel, as shown in Figure 52, to remove the wood marked with cross-hatching down the length of the hull. Begin your cut before the cross-hatching at each station, and continue on beyond it. Work slowly and remove only a thin layer at a time. You can always remove more on another pass, but It’s very difficult to add wood back to areas you’ve removed too much.
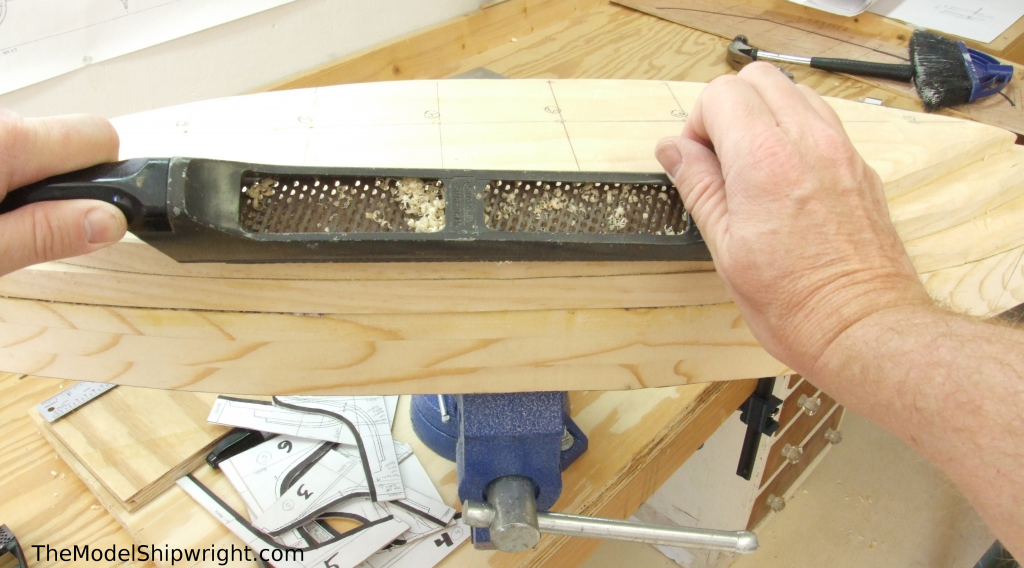
Once you’ve removed all the cross-hatching, you will almost certainly have a wavy shape instead of a smooth curve. Use a long wood rasp (I like the Stanley Surform tool) to smooth the high spots between the sections where you removed the cross-hatching, as shown in Figure 53.
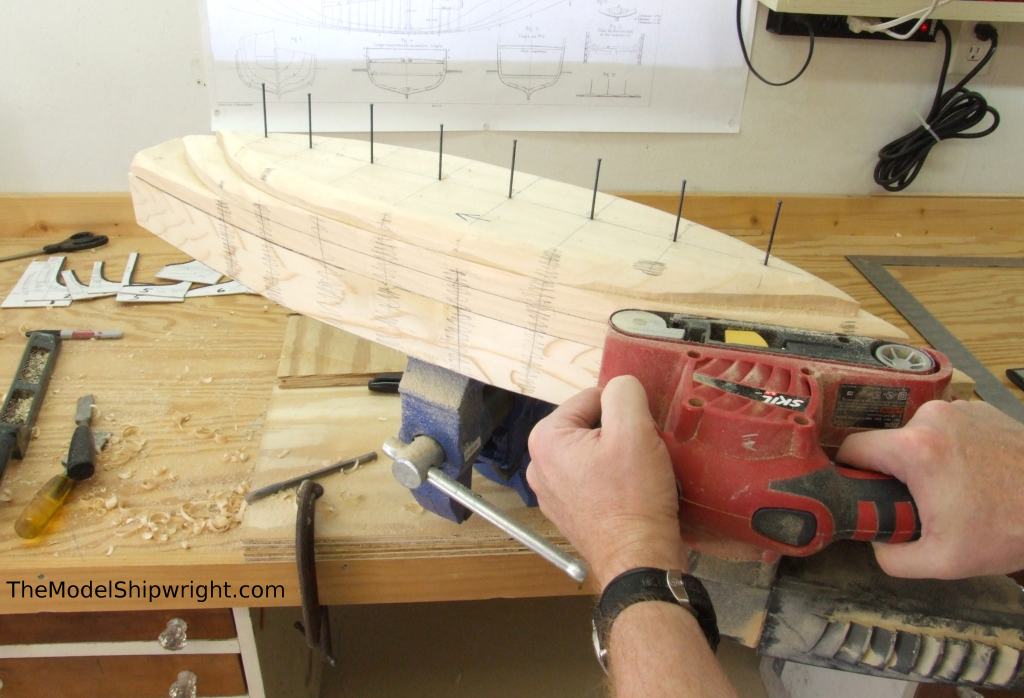
When you have large flat areas where the wood must be removed, as in Figure 54, a power sander helps keep the wood removal even across a wider area than is possible with a chisel. This hull is so large I was able to use my belt sander with coarse grit paper to remove wood faster and more evenly than I could have with a chisel.
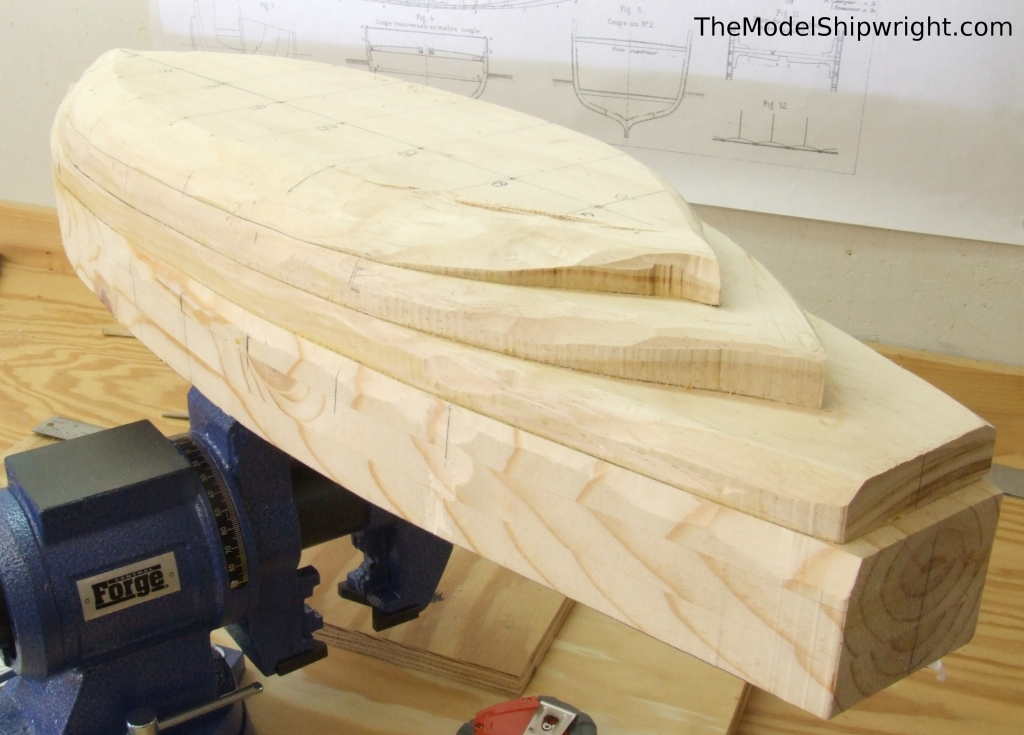
Figure 55 shows the results after just a few repetitions of the process of marking high spots and then using the chisel and rasp to remove them. Once we get the middle part of the hull close to the correct shape, we will begin shaping the angle of the bow and stern on page 5.
Other Pages
Page 1
Page 2
Page 3
Page 4
Page 5
Page 6
*Our reprint “Selected Plates from Souvenirs de Marine” which contains this plan as well as more than 130 other ship plans, can be ordered from Amazon here.
For this project, we created three pages of plans and patterns from the original plan. We created cutting plans for the waterlines by duplicating the half-breadth plan and flipping it over to create a pattern showing the full breadth of each waterline. We also duplicated the section plan enough times to create each template needed in final shaping of the hull. Please use our Contact Page to let us know of your interest in purchasing these.
