Waste Less Wood than Cutting a Solid Block
Using the Bread-and_Butter Technique for Solid Hull Model Ship Construction
Ship Plans Provide Everything You Need to Scratch-Build a Red Sea Dhow
The most basic form of scratch-built ship modeling is the solid hull technique that we demonstrated on our page Creating a Solid Hull Ship Model. While the method demonstrated there – using a solid block of wood to create the hull for a 19th Century William Doughty-designed revenue cutter – works well for smaller models, a solid block of wood large enough to build a bigger model will be either hard to find, or prohibitively expensive.
Looking for tools for model shipbuilding? Check out the Model Expo Storefront
In this article we will discuss the popular method of scratch-building a solid hull for larger ship models, called the bread-and-butter technique, that reduces the thickness (and expense) of wood needed as compared to the solid block method. This method uses the waterlines from the ship plan to cut out several planks that will be layered like slices of bread to create the solid hull, and glued together (the butter). A major advantage of this method – in addition to less cost for wood than a solid block – is that since each plank is cut to the breadth of the hull at a certain level, there is less filing and sanding to reach the final shape than a single block of wood, which must be cut to the widest breadth of the hull.
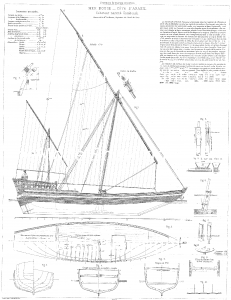
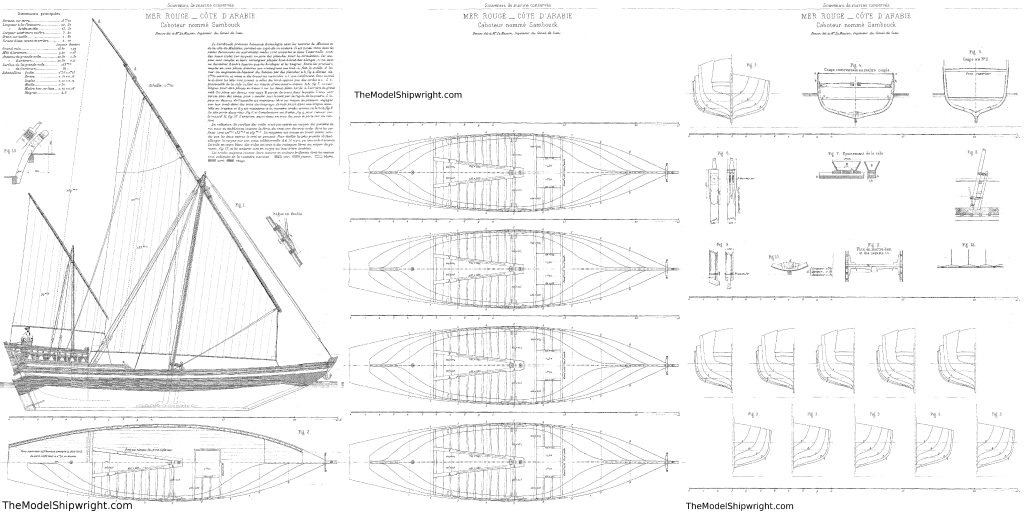
For this article, we are creating the hull for a model of a Sambouk – a type of “dhow,” the generic name for ships used well into the 20th Century by Arab traders and fishermen in the Red Sea, the Persian Gulf, and the eastern coast of Africa. This particular ship’s plan is illustrated on plate 57 from French admiral François-Edmond Pâris’s work “Souvenirs de marine. Collection de plans ou dessins de navires et de bateaux anciens ou modernes existants ou disparus avec les éléments numériques nécessaores à leur construction.” Our reprint Pâris’s work “Selected Plates from Souvenirs de Marine” can be ordered on Amazon here. For this project, we created three pages of plans and patterns from the original plan. We created cutting plans for the waterlines by duplicating the half-breadth plan and flipping it over to create a pattern showing the full breadth of each waterline. We also duplicated the section plan enough times to create each template needed in final shaping of the hull. Please use our Contact Page to let us know of your interest in purchasing these.
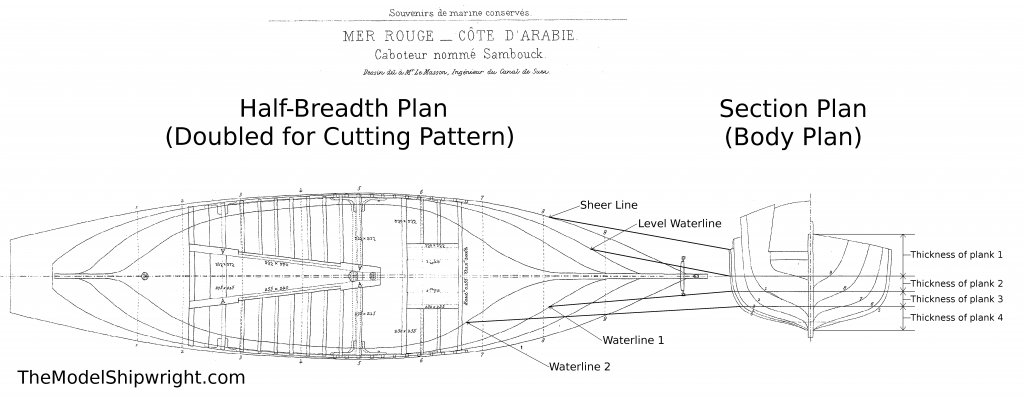
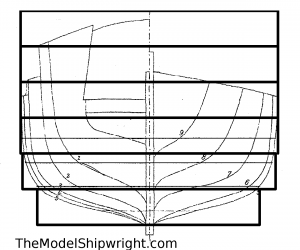
As a refresher to our article How to Read a Ship Plan, Figure 1 shows how the shapes of the waterlines are illustrated in the half-breadth plan, while the distance between them is shown on the section or body plan. In bread-and-butter hull construction, a different plank is cut to the shape of each waterline on the half-breadth plan, and the distance between them as measured on the section plan determines how thick the plank must be to space them correctly. As you can see from the section plan, the planks would have to be planed to different thicknesses to match up with the waterlines. Rather than doing this, we will be using standard 1”x8” (actual size about 3/4”x7 1/2”) lumber, and, as shown in figure 1a, sawing the second from the bottom plank slightly large since it will extend just a bit above the second waterline. The top four planks will all be cut to the line that marks the sheer line since the lowest of these planks extends above the level waterline, the shape of which it would normally be sawn.
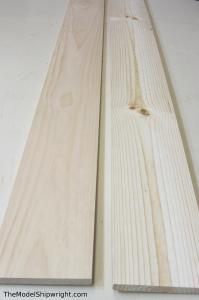
Now, when it comes to choosing lumber, there are many grades available, with significant differences in the quality and grain, as shown in Figure 2,which shows a “select” pine board on the left and a standard construction “whitewood” #2 board on the right. If you opt to use the standard boards, care must be taken to ensure the knots don’t fall where you will be trying to shape the wood later, as they are much harder than the rest of the wood, and it will be nearly impossible to get a smooth, fair curve if you are trying to sand or file across one. Either fit the patterns so the knots can be cut away with the waste, or so that they are far enough inside the pattern that you won’t hit them when shaping the hull later. Also try to find boards where the grain is as straight as possible, preferably symmetrical from edge to edge. We will be using select boards for the bottom three planks where the greatest shaping must be done, and cheaper #2 boards for the top three, where no complex hull curves need be shaped, and much of the planks will be cut away to get down to the deck level anyway.
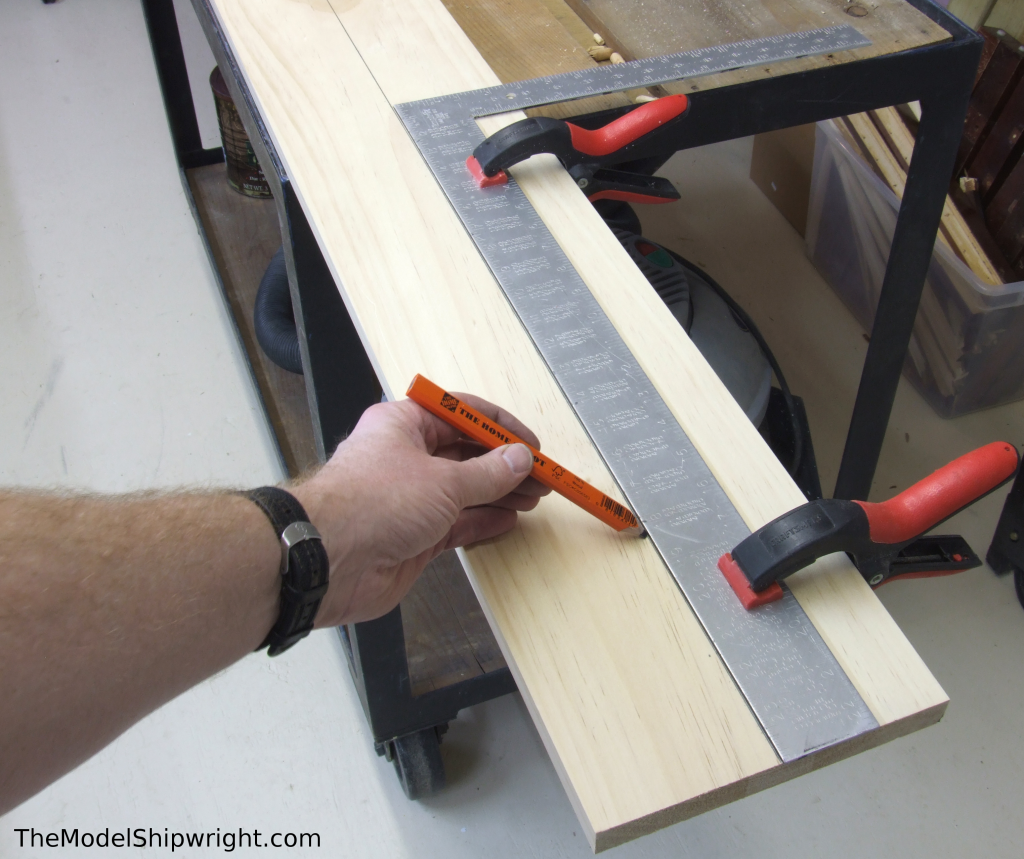
Mark the center of each board as shown in Figure 3 before cutting them to length. This line will be used later to align the patterns for the waterlines when gluing them to the planks.
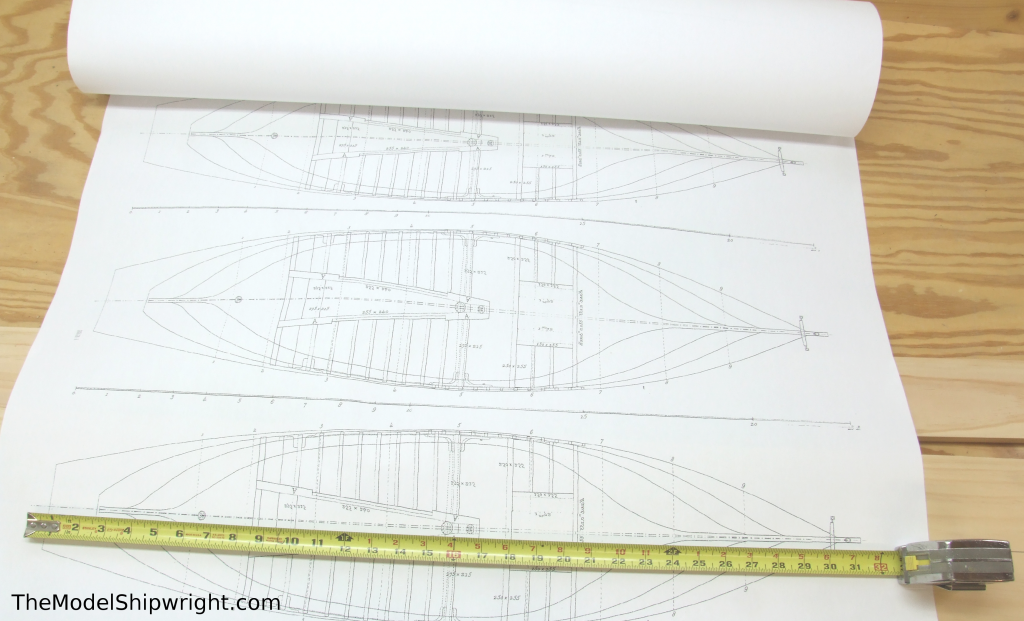
As shown in Figure 4, measure on the plan how long each plank must be, and cut the board accordingly. Mark the cut boards so you can keep the wood grain lined up the way it was in the original long board – in other words, the bow end of each pattern is pointed toward the same end of the original long board. Having the grain aligned in the same direction will make shaping much easier later.
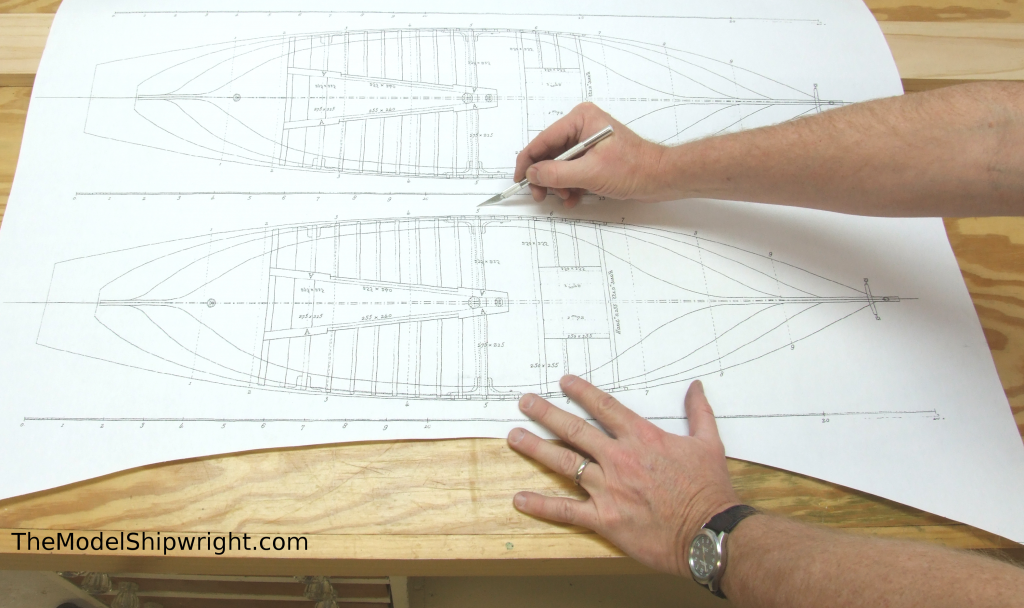
Cut the pattern for each plank slightly outside the line to which it will later be sawed, as shown in Figure 5.
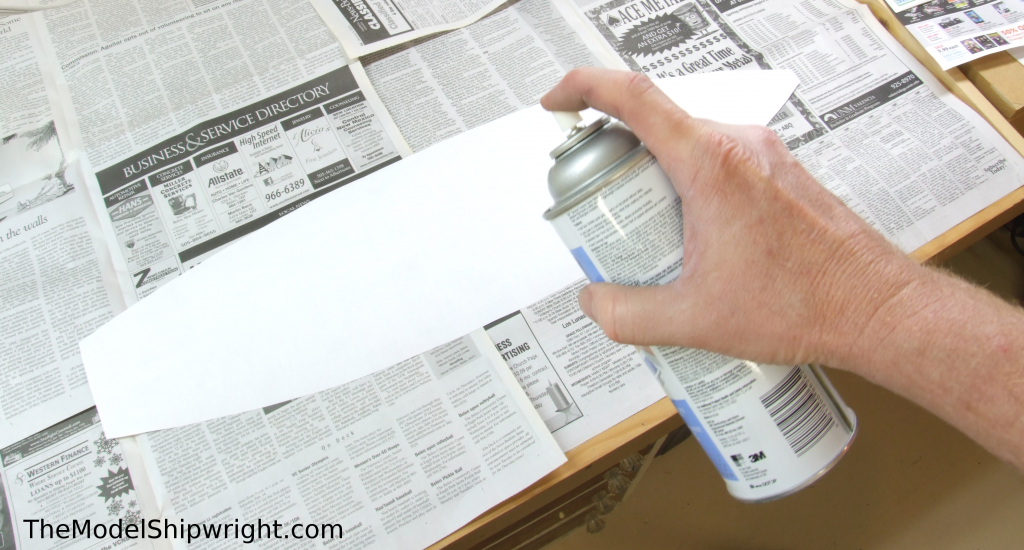
Flip the pattern over on some old newspaper, and apply a spray adhesive, as shown in Figure 6.
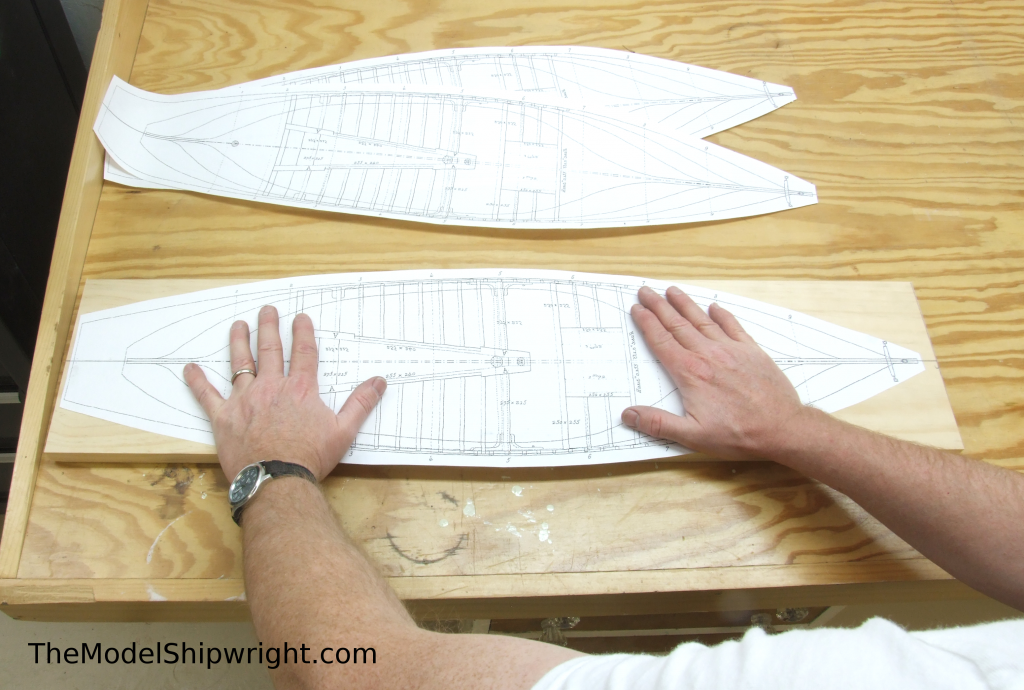
As shown in Figure 7, line up the center-line on the pattern with the center-line on the plank, and adhere the pattern to the plank beginning at the stern and working forward, being careful that there are no wrinkles in the plan or bubbles trapped under it, and that the center-line at the bow still matches up with the center-line on the plank.
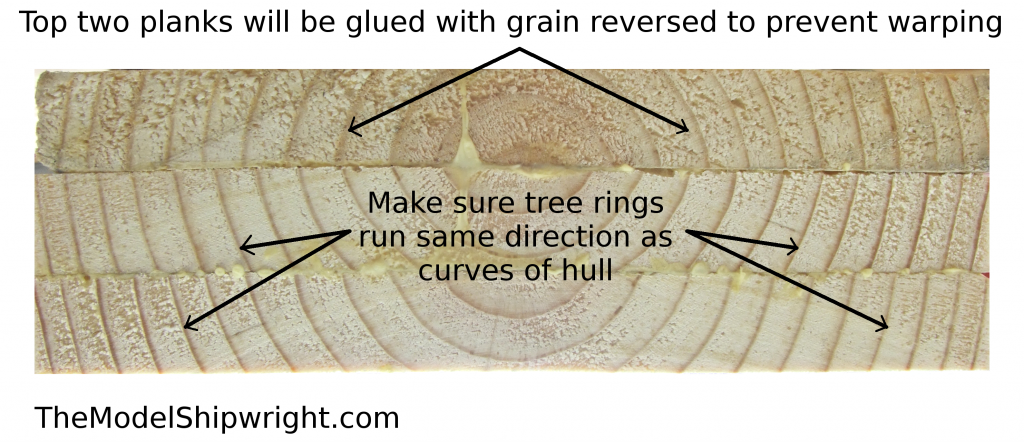
Anther point to consider when gluing the patterns down, is that if the grain of the wood as observed from the end, as shown in Figure 8, curves in the same direction as the hull, sanding and shaping will be much easier. The top two planks, which do not need to be shaped to any complex curves, will be flipped over to counteract the rest of the planks’ tendency to warp in the direction of the curve of the grain.
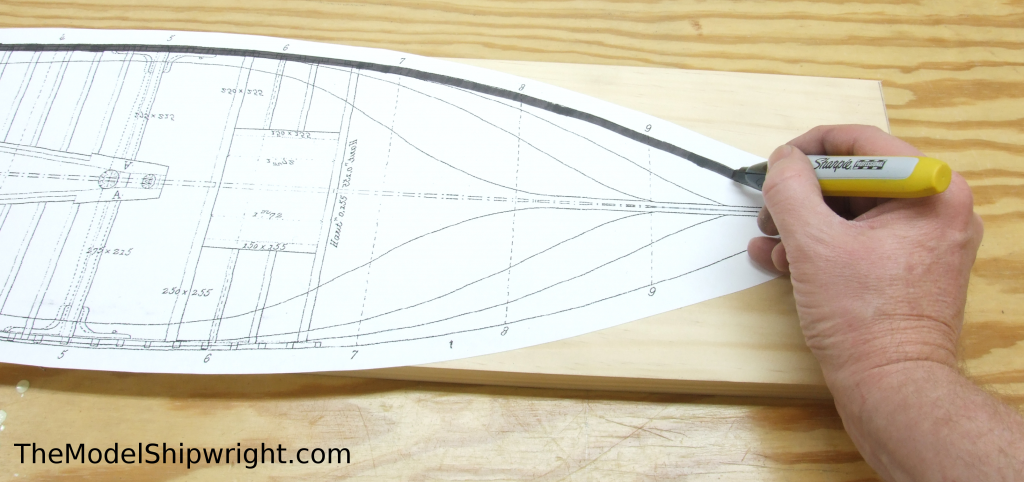
When it comes time to saw the planks, remember to cut outside the line you are cutting to. You can always remove more wood later, but it’s much more difficult to add more on. I try to leave up to 1/4” of extra wood outside the line. But, something about that line makes me want to cut right up against it, so as shown in Figure 9, to remind myself to give it some space, I use a 1/4” chisel-point felt marker along the outer edge of the line. This way, as long as your saw blade is in the black, your saw cut is o.k.
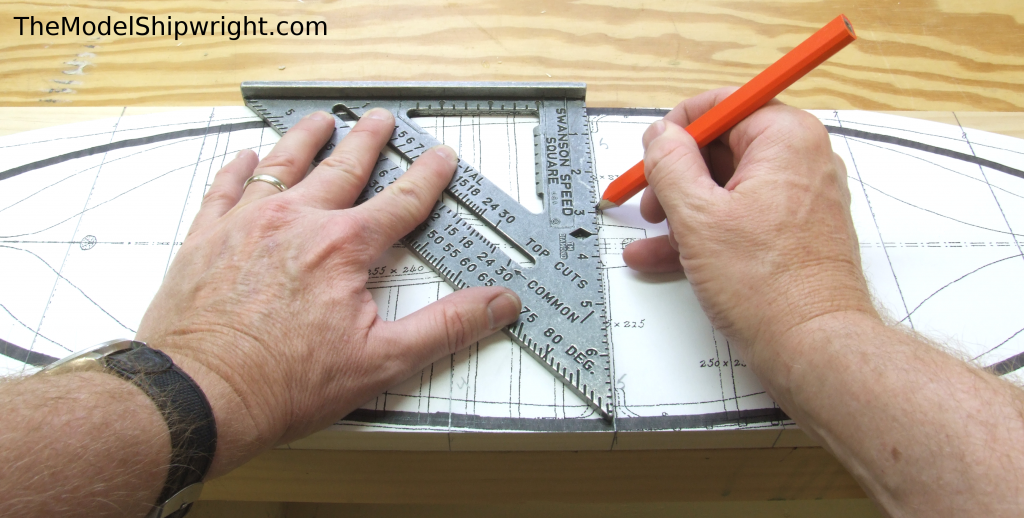
Each pattern, while centered on the board side-to-side thanks to the line we drew the length of the plank earlier, may be slightly forward or back along the length of the plank. To get them all lined up when gluing them together, we have to create some reference lines. Begin by extending the section lines on the plan out to the edges of the planks, as shown in Figure 10.
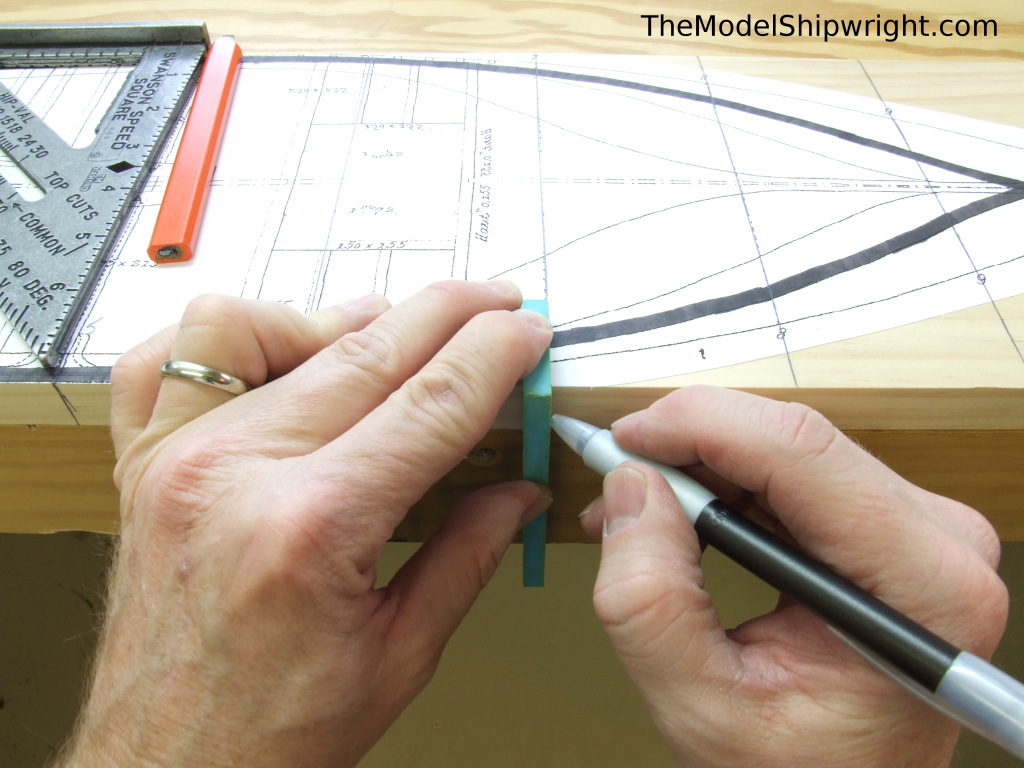
Once you have the lines drawn from the pattern to the edge of the plank, use your square to extend them down the edge of the plank as shown in Figure 11. Do the same with the center lines drawn earlier, extending them from the top of the plank down the edges. Accuracy is important here. Work carefully and check it visually from several angles.
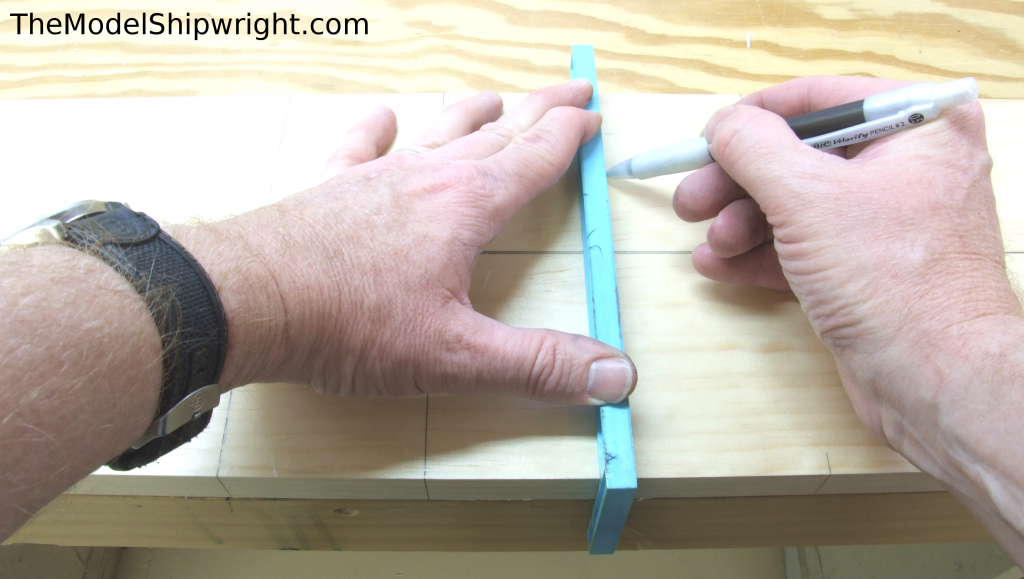
On the very bottom plank, extend the section lines across the bottom of the plank, as well as the center line, as shown in Figure 12.
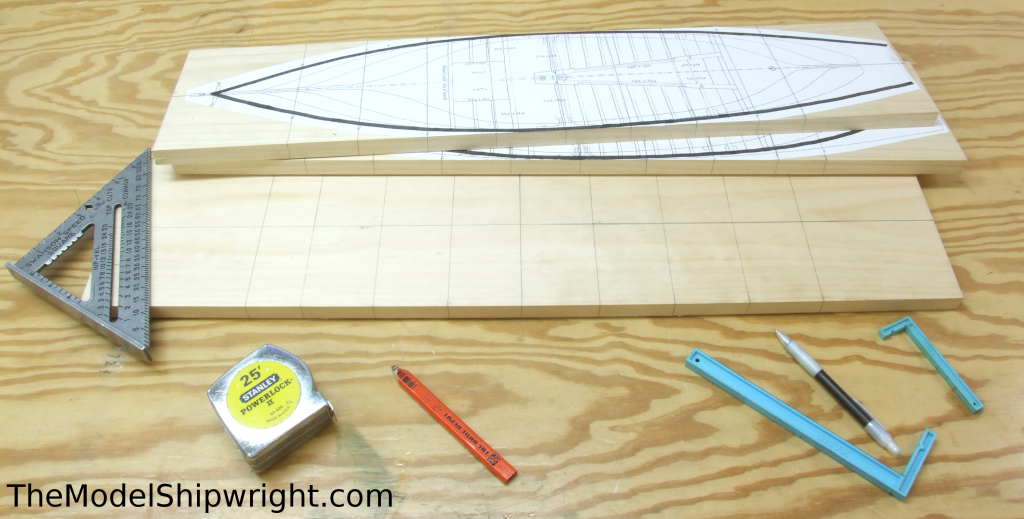
The final result of all these lines is shown in Figure 13. We will see how important these lines are on the next page, as we prepare to cut out the patterns, and the third page, where we begin final shaping of the hull.
Other Pages
Page 1
Page 2
Page 3
Page 4
Page 5
Page 6
[…] Building a Bread-and-Butter Solid Hull Ship Model […]
[…] Building a Bread-and-Butter Solid Hull Ship Model […]
[…] describing Creating a Solid Hull Ship Model from a single block of wood (for smaller models), Building a Bread-and-Butter Solid Hull Ship Model (a better method for larger models), and Scratch-Building a Plank-on-Bulkhead Ship Model (which […]
[…] describing Creating a Solid Hull Ship Model from a single block of wood (for smaller models), Building a Bread-and-Butter Solid Hull Ship Model (a better method for larger models), and Scratch-Building a Plank-on-Bulkhead Ship Model (which […]