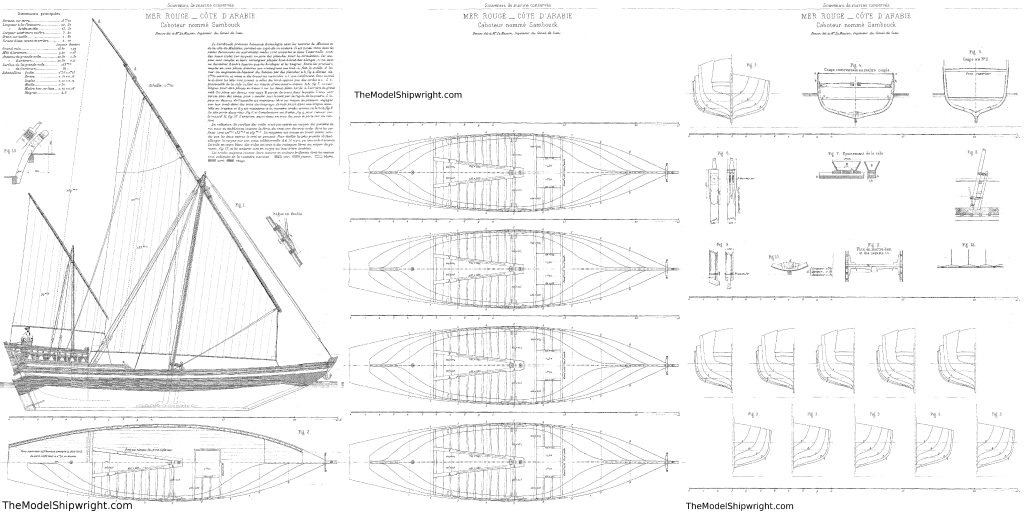
cutting lifts to the shape of waterlines on a ship plan
Using the Bread-and_Butter Technique for Solid Hull Model Ship Construction
Keeping the Lifts Aligned is Most Important Aspect in Creating an Accurate Hull
On Page 1 of Building a Bread-and-Butter Solid Hull Ship Model, I described how to prepare the planks – called “lifts” by ship modelers – by gluing the waterline patterns to them and marking the line to which to saw them.
I also added reference lines on the edge of the wood planks that will be cut into the lifts that will make up the hull. On this page, we’ll use those lines to make sure after we cut out the lifts they all end up in the proper alignment when we assemble the hull.
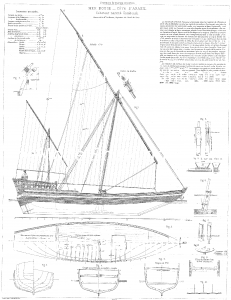
Then we will saw out the lifts and assemble them into the rough shape of the hull for a model of the Sambouk dhow illustrated on plate 57 from French admiral François-Edmond Pâris’s work “Souvenirs de marine.”*
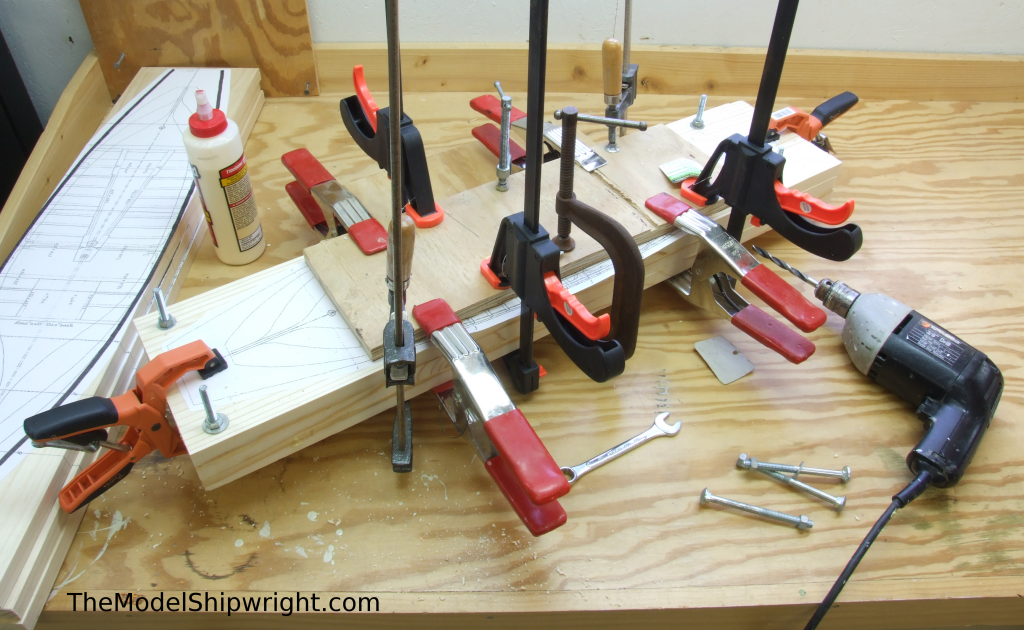
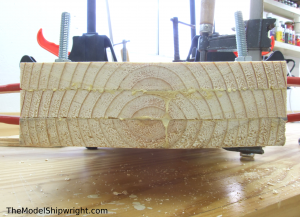
The top three “lifts” will be sawn to the same shape, so rather than glue a pattern to each one and have to saw the exact same shape three times, I glued the waterline pattern to the top one, and then glued the other two lifts to it before sawing. In Figure 14, clamps (and bolts on the corners, which will be cut away) hold the lifts together tightly while the glue dries. As discussed on Page 1, the top two lifts will have the grain curving in the opposite direction of the bottom four lifts. This is illustrated for the top three lifts in Figure 14a. The grain on the next three lifts will all be aligned with the bottom lift in this photo.
While in this case I glued these three lifts together before sawing, I think next time I will just clamp them together for sawing, and wait to glue them until I’m gluing all the other lifts, for reasons I will explain later on this page.
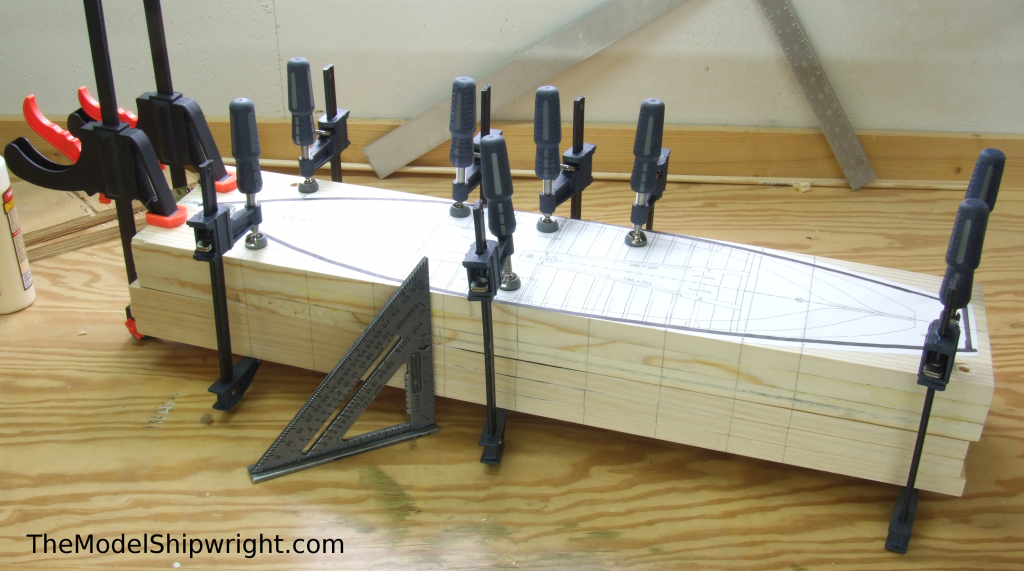
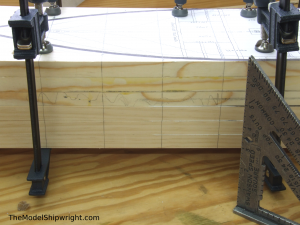
Sawing the lifts will remove all the station reference lines we drew on the edges of the lifts on Page 1, so we need a way line up the lifts when gluing them together after sawing them. In Figure 15, I clamped all six lifts together, carefully aligning the station reference lines as shown in the closeup photo in Figure 15a. As you can see, not every station reference line is drawn perfectly. This is why I draw all of the station reference lines, instead of just one or two, which is really all that are needed. The more careful you draw these station reference lines, the more of them that will line up. But, by drawing all of them, we can line up as many as possible, negating the effects of the few inaccurately drawn ones. Make sure to check both sides and the ends for alignment of the lines before tightening the clamps.
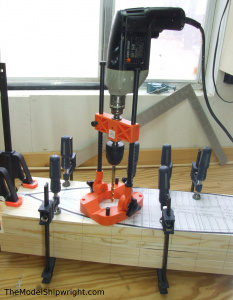
Now that we have the lifts all aligned and clamped together, drill a number of holes, as shown in Figure 16. I used a 5/16″ drill bit, but for a smaller model you will want to use a smaller drill bit.
Be careful not to drill so deep into the bottom lift – or so close to the edge of the hull – that you will expose the hole when shaping the hull later. I drill them close to, but not on, the center-line, where the hull is deepest, and use a drill press attachment that allows me to set how deep the drill will go before stopping.
On a small model only a couple holes are needed, but on a hull this size I drilled eight holes to provide as sturdy an alignment as possible when we assemble the lifts after sawing them out.
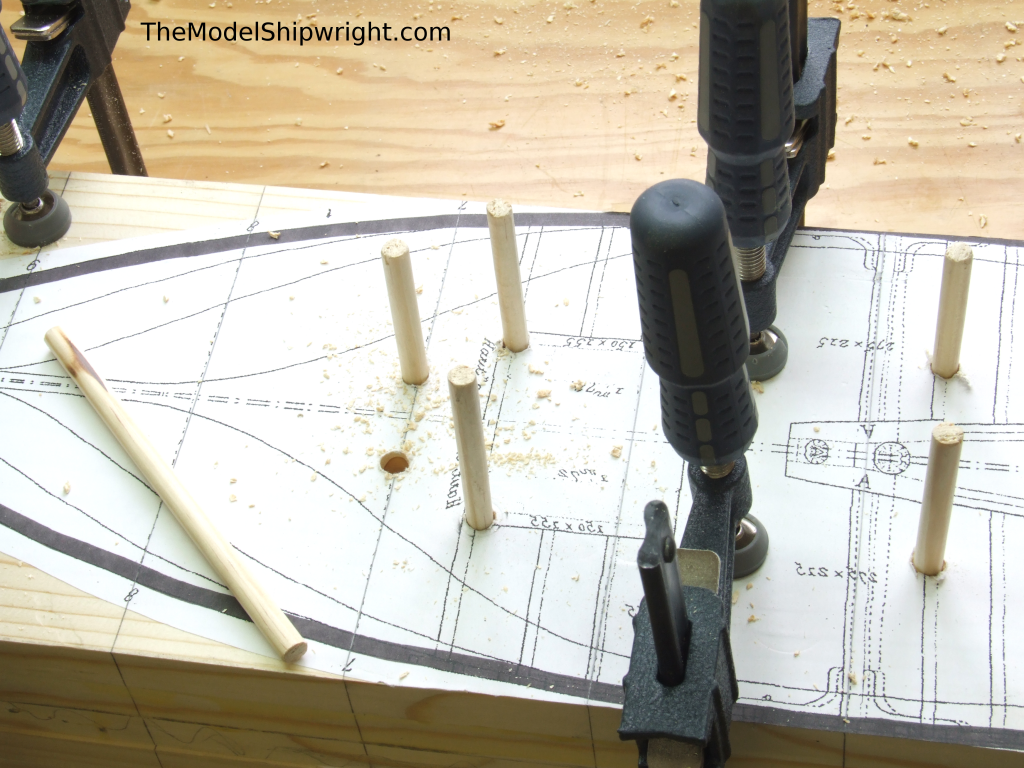
As shown in Figure 17, fit into the holes lengths of dowel the same diameter as the drill bit you used to drill them. You want a tight fit, as these dowels are what will align the lifts when gluing them together after sawing.
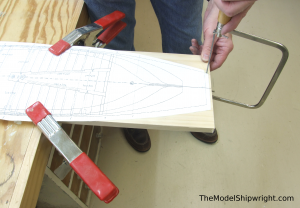
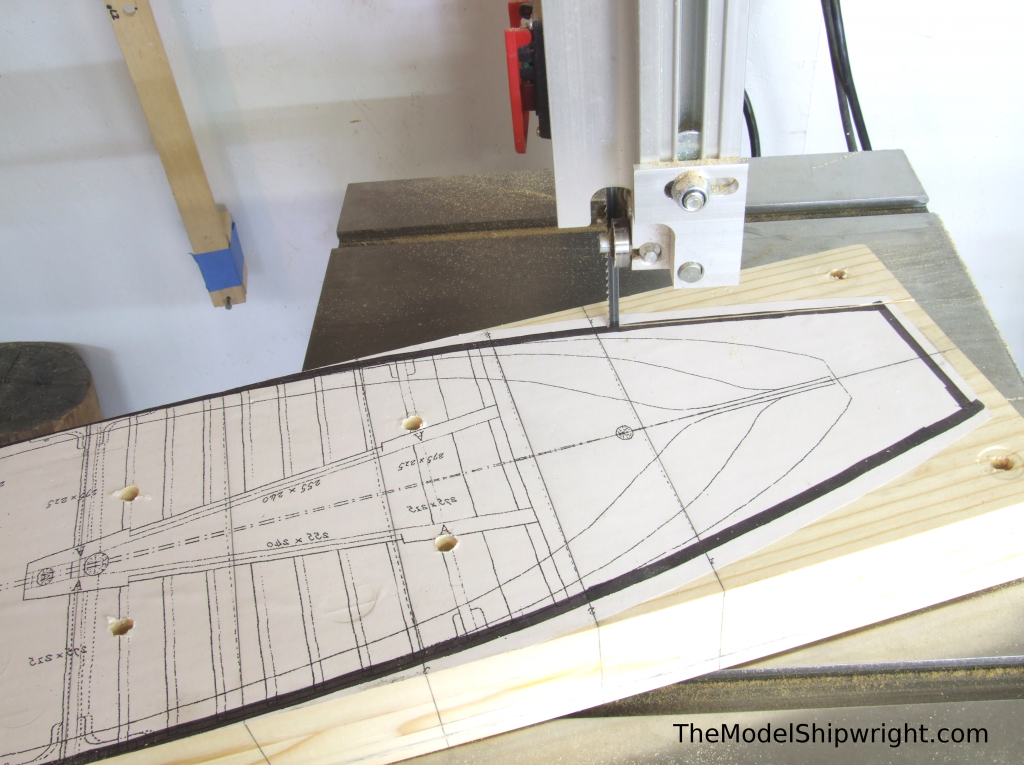
With the dowels fitted, it’s time to disassemble the lifts, get out the saw, and start cutting. If you have the patience and the endurance, you can use a coping saw to cut the lifts to shape, as shown in Figure 18a. If you go this route, you can skip the felt-marker lines we added earlier.
I, however, opted for more speed and fewer muscle cramps by using a band saw to cut the lifts to shape. A hand-held power jigsaw will also work, but in either case, those black felt-marker lines will come in handy to avoid that tendency – I think it is something drilled into us in kindergarten – to cut right on the line. Note: I raised the guide on the band saw to show the blade better for this photo, but it should be lowered much closer to the wood surface in actual use.
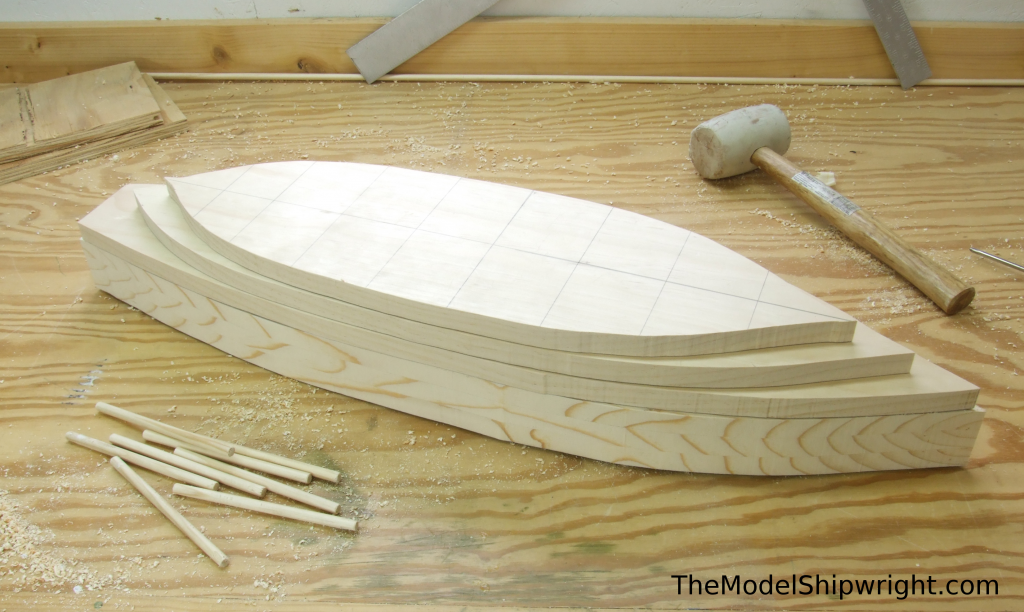
Figure 19 shows the lifts sawed to shape and stacked upside down to better show the diminishing size as they get closer to the bottom of the hull. Note how much more coarse the grain is on the three lifts cut from the cheaper grade of lumber, on the bottom in this photo.
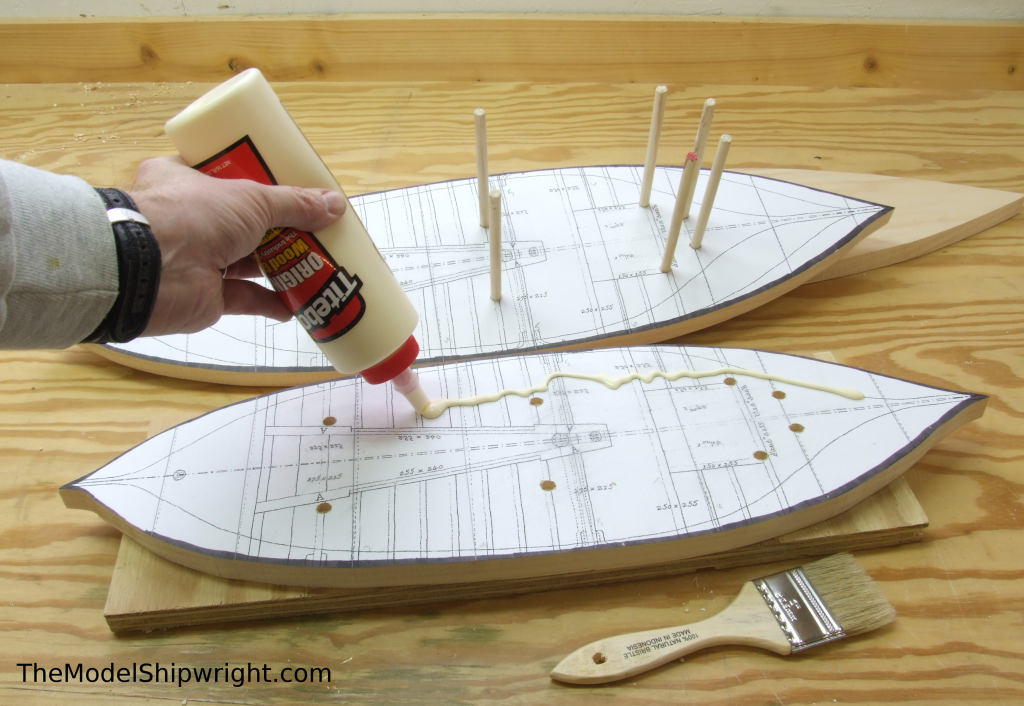
Before you begin gluing, put the dowels in lift 2 so they project out of the bottom to the depth of the holes in lift 1. Apply glue to the top of lift 1 as shown in Figure 20.
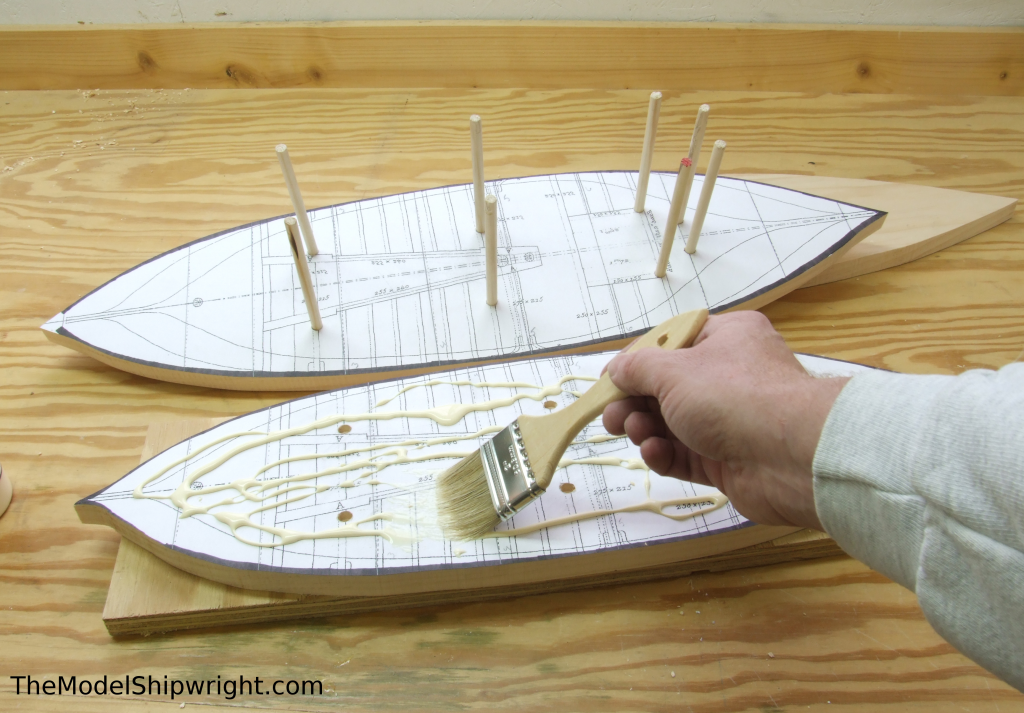
As shown in Figure 21, using a cheap bristle brush, spread the glue into an even film on the surface of lift 1. I used standard carpenter’s glue, which sands well when dry, but be sure to remove any that squeezes out of the joint after you clamp it.
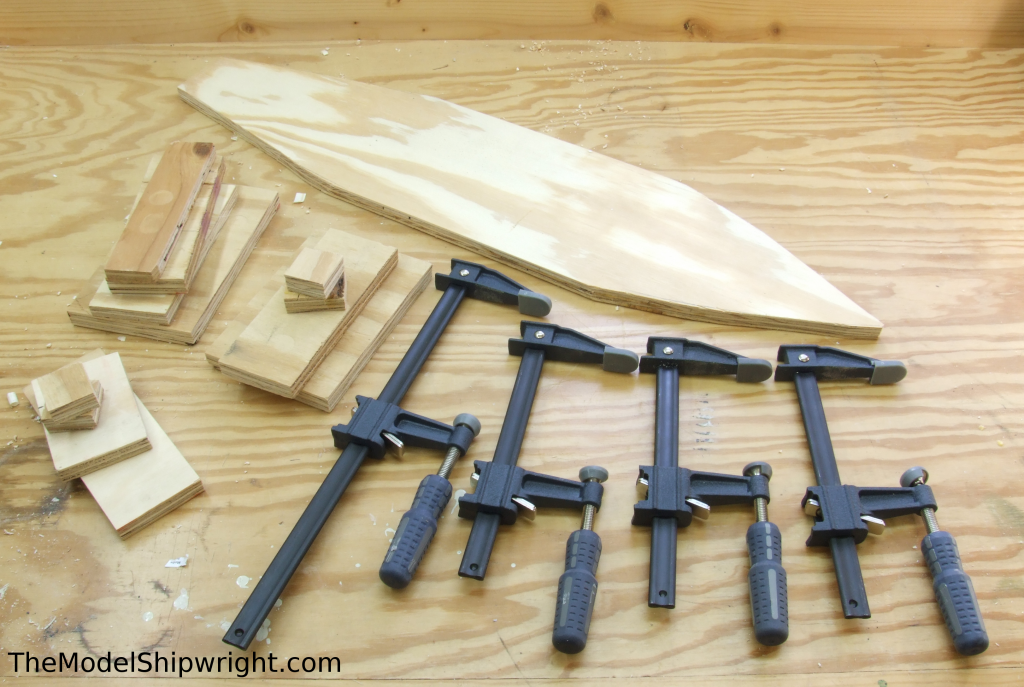
Due to the amount of force you will need to apply to get a tight joint, use scraps of wood, such as those in Figure 22 under the clamps to prevent damage to the hull lifts.
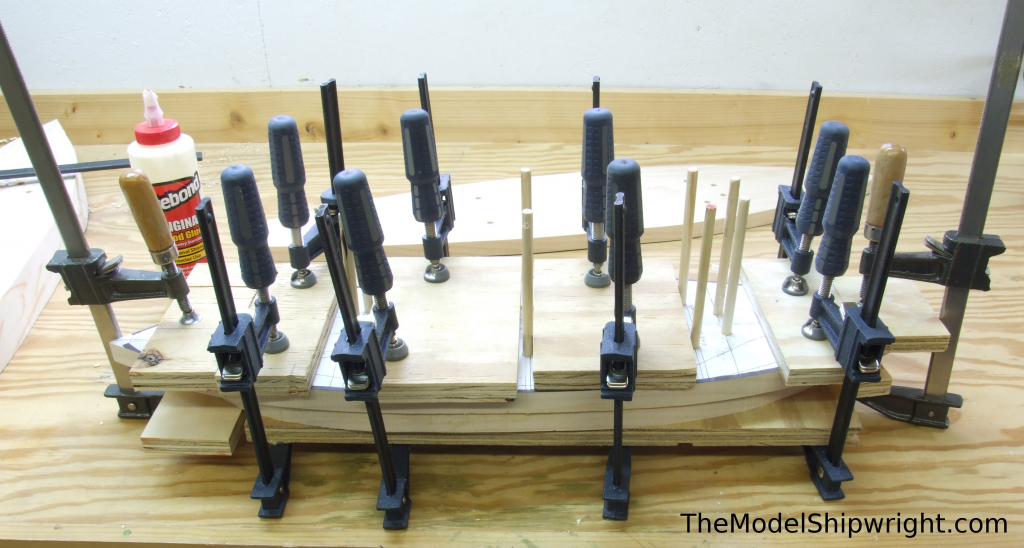
Work quickly, before the glue begins to set, and place lift 2 on lift 1 so the dowels extending from the bottom of lift 2 fit into the holes on lift 1. You may need to use few taps from a rubber mallet to get the lifts pressed together. Once they are in contact, apply clamps to squeeze the joint tight, as shown in Figure 23. Tighten each clamp until just snug, and then, working alternately from side to side to maintain even pressure, keep tightening until the lifts are pressed firmly together. Wipe away any glue that squeezes out before it dries.
After the glue between lifts 1 and 2 has cured, apply glue to the top of lift 2 and slide lift 3 over the dowels onto it. If your dowels fit nice and tight, you may need to use a few taps from a rubber mallet to coax lift 3 down until it contacts lift 2. Again using wood scraps, clamp lift 3 onto lifts 1 and 2.
When the glue between lifts 2 and 3 has cured, repeat the process to glue lifts 4, 5, and 6 to the first three.
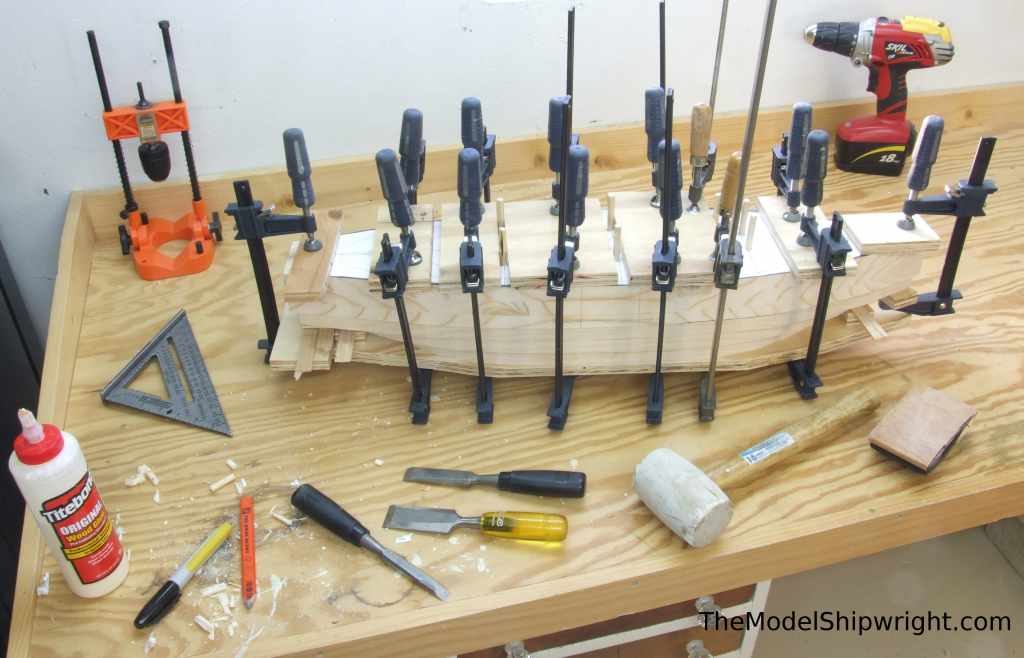
As I said earlier, I wish I hadn’t pre-glued lifts 4,5, and 6 to each other before sawing them. The cheaper wood of lifts 4, 5, and 6 was not as dimensionally stable as the select pine from which I cut the first three, and the assembly wasn’t flat. Even after planing the bottom surface of lift 4, it took every clamp I could find, as shown in Figure 24, to put enough pressure on the assembly to get lift 4 pressed tight against lift 3. If I had just used the dowels to hold them together during sawing, it would have been much easier to get the cheaper wood to lay flat against the other lifts by gluing them one-by-one. Or, I could just cough up the extra money (more than double the price) and use all select pine, but that’s a lot of extra money for wood, much of which will be cut away to get down to deck level.
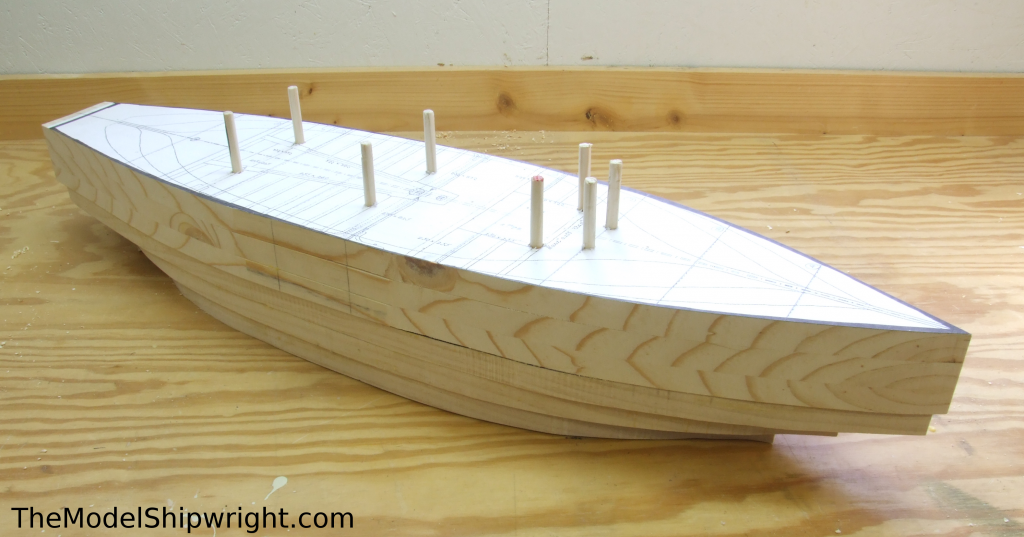
Figure 25 shows the final result after the glue has cured and the clamps were removed. Compare the stepped shape of this hull to the flat sides of the sawn hull for a 19th Century William Doughty-designed revenue cutter in Figure 13 of our article Creating a Solid Hull Ship Model. Using a solid block of wood to create that hull meant I had to cut the entire piece to the widest breadth of the hull. On a smaller model that can be shaped with a hobby knife, this doesn’t create a lot of extra work, but on a hull the size of this Red Sea Sambouk, it would mean a lot of extra work with a chisel and rasp.
On Page 3 of Building a Bread-and-Butter Solid Hull Ship Model, I will create the station templates that show the finished shape of the hull, and begin shaping our rough, stepped hull into the smooth curves depicted on the plan from François-Edmond Pâris’s “Souvenirs de Marine.”
Other Pages
Page 1
Page 2
Page 3
Page 4
Page 5
Page 6
*Our reprint Pâris’s work “Selected Plates from Souvenirs de Marine” can be ordered from Amazon here. For this project, we created three pages of plans and patterns from the original plan. We created cutting plans for the waterlines by duplicating the half-breadth plan and flipping it over to create a pattern showing the full breadth of each waterline. We also duplicated the section plan enough times to create each template needed in final shaping of the hull. Please use our Contact Page to let us know of your interest in purchasing these.
