Shaping the Bow and Stern Contours of a Bread-and-Butter Solid Hull
Using a Template Created from the Profile Plan
A plane, saw, sandpaper, and a watchful eye create the correct contour
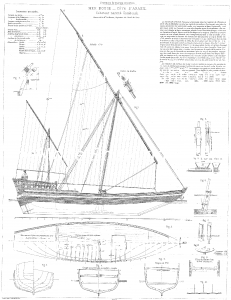
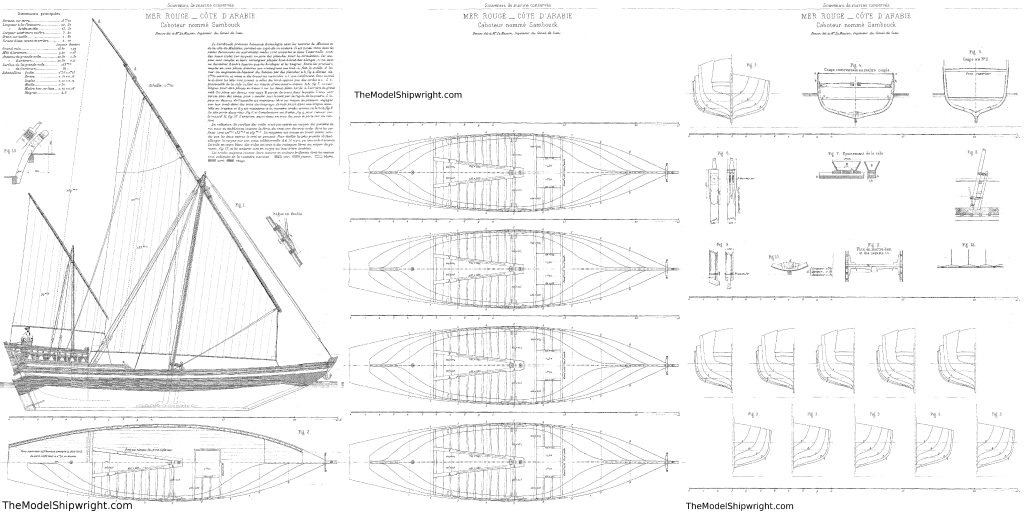
On page 1 of Building a Bread-and-Butter Solid Hull Ship Model, I described how to prepare the planks – called “lifts” by ship modelers – for a model of the Sambouk illustrated on plate 57 from French admiral François-Edmond Pâris’s work “Souvenirs de marine.”* We cut out the waterlines from the half-breadth plan, glued them to the planks, and created reference lines to align the planks when they are stacked up.
On page 2 of Building a Bread-and-Butter Solid Hull Ship Model, I showed how to use dowels to keep the lifts aligned, sawed out the lifts to the shape of those waterline patterns we glued to the planks on Page 1, and glued them together. This gave us a rough step-sided hull for our Red Sea dhow.
On page 3 of Building a Bread-and-Butter Solid Hull Ship Model, we used the section plan (sometimes called ‘body plan’) to create templates to use as a guide when shaping the hull to its final shape.
On Page 4, we created a template to determine the shape of the stem and stern of the ship, and completed the last few steps needed before shaped our step-sided hull.
On Page 5 we clamped the hull into our bench vise and begin shaping it with wood-working tools.
On this page, we will shape the bow and stern to the correct contour so that we can continue the shaping of the hull sides we began on Page 5.
We begin by using the template of the stem, keel, and stern we drew onto plywood on Page 4. We cut it out on the scroll saw, just as we cut out the station templates on Page 3, and then, because the hull is still longer than the template, cut it in half through the part where the keel was straight.
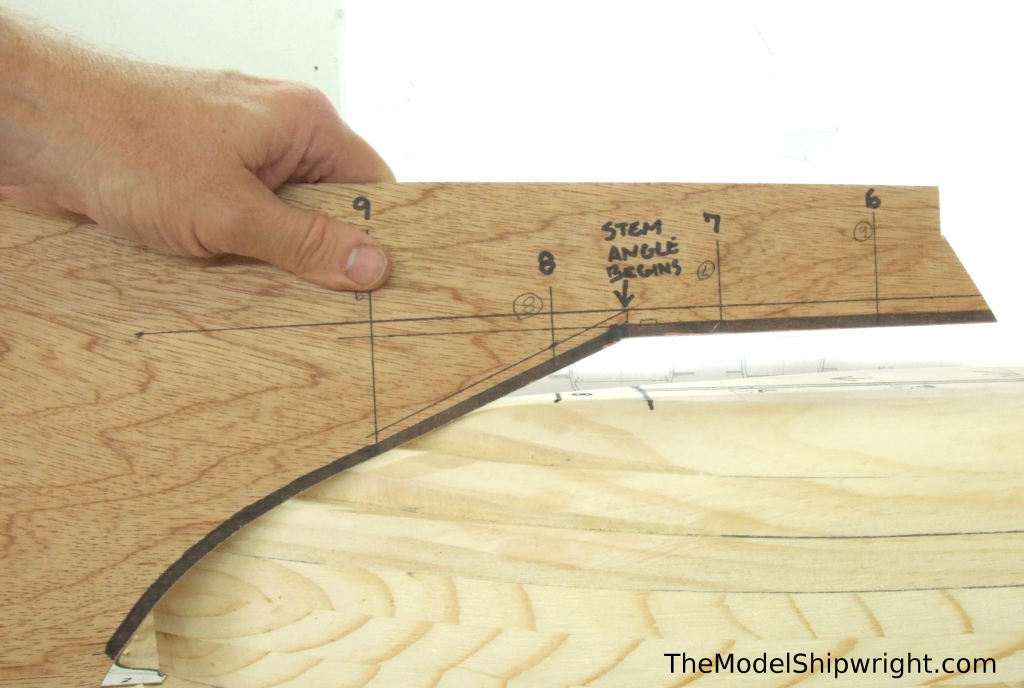
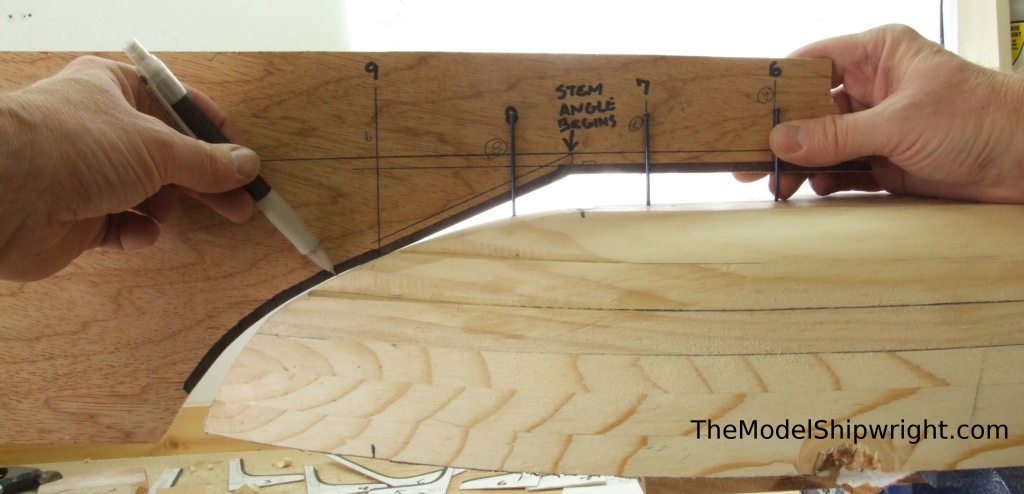
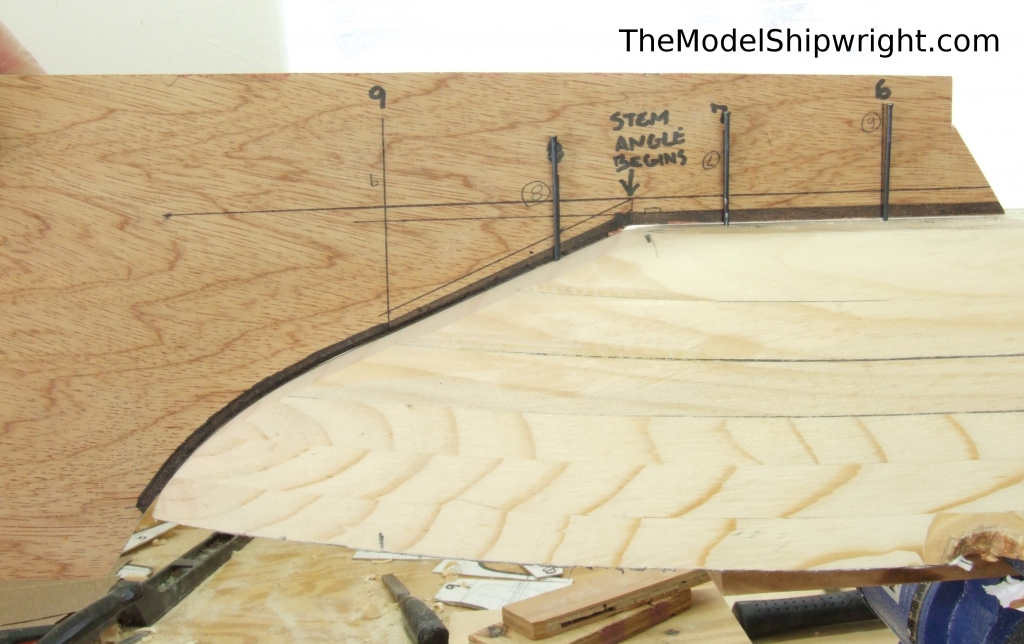
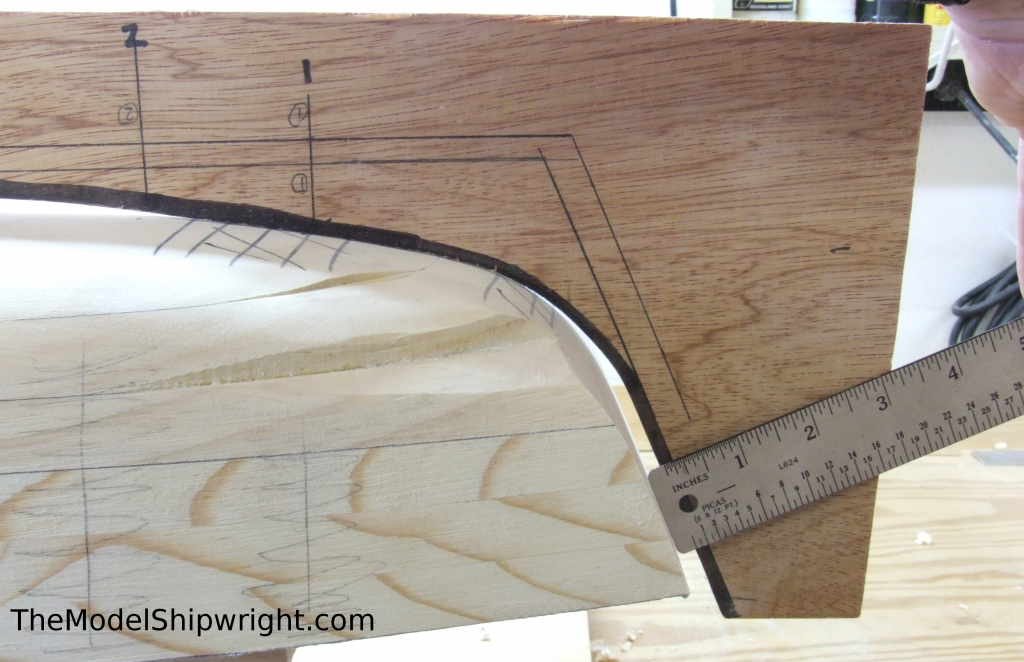
To shape the bow contour, using the bow section of this template, we lined up the numbered stations on the hull with the station lines on the template, as shown in Figure 56. You will have to hold the template slightly off-center, because the end of the hull is still longer than the shape of the template,and if you hold it directly over the center line, it won’t be able to match the stations lines. Note the point where the keel meets the stem – the sharp angle where the flat keel transitions to the raked bow, and make a mark at this point on the hull.
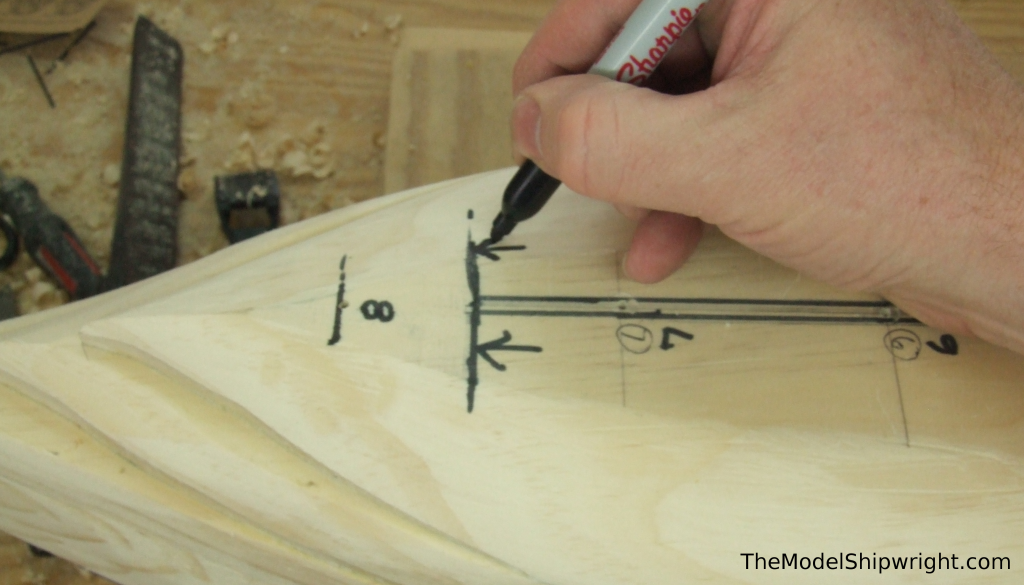
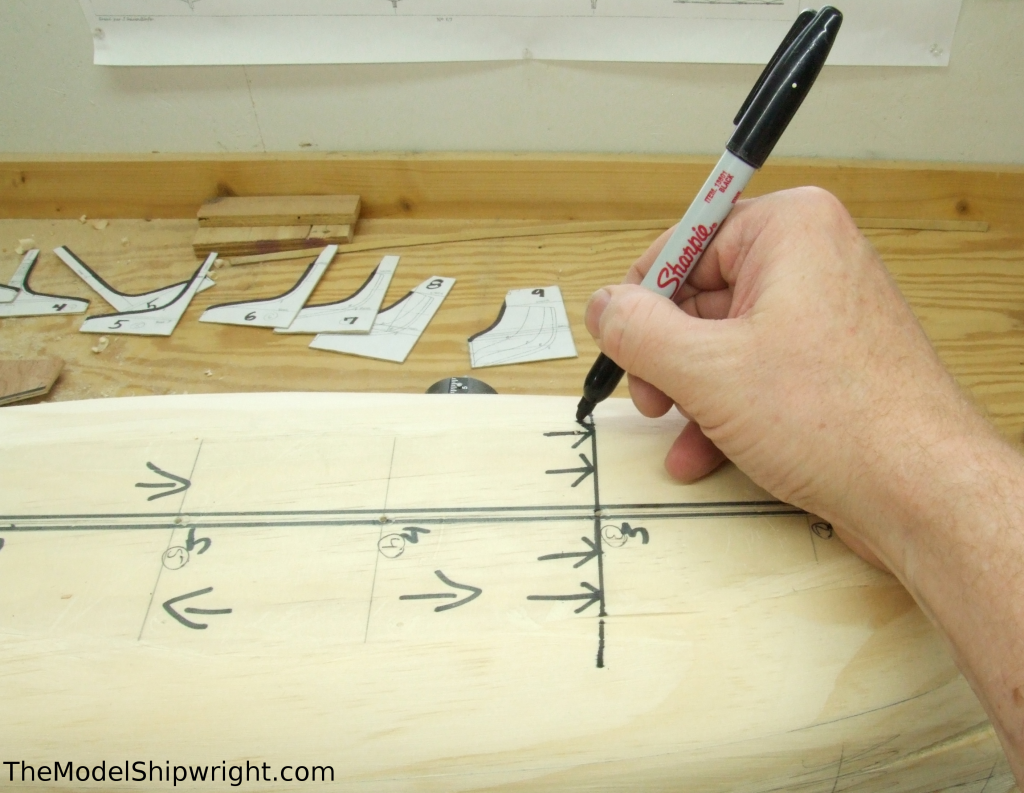
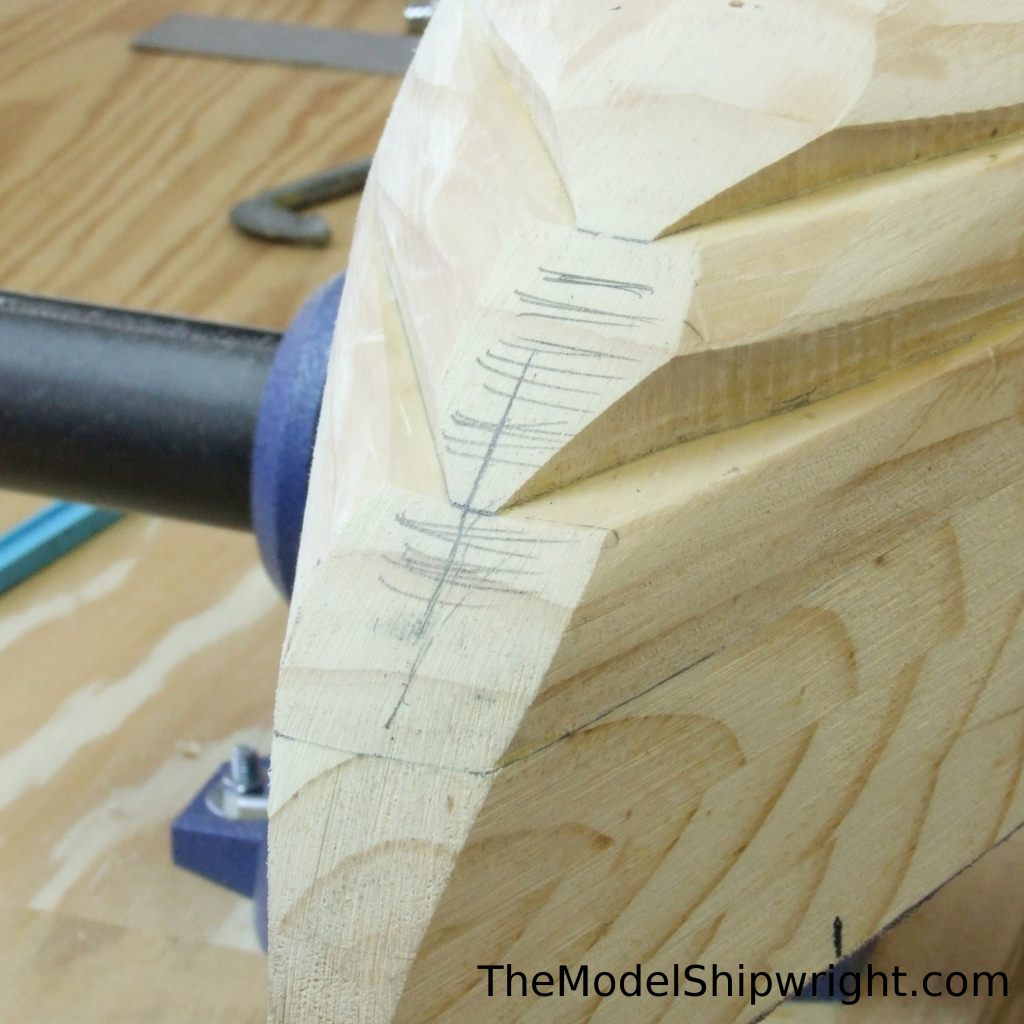
Extend the mark you made on the hull where the stem and keel meet into a line parallel with the stations, as shown in Figure 57.
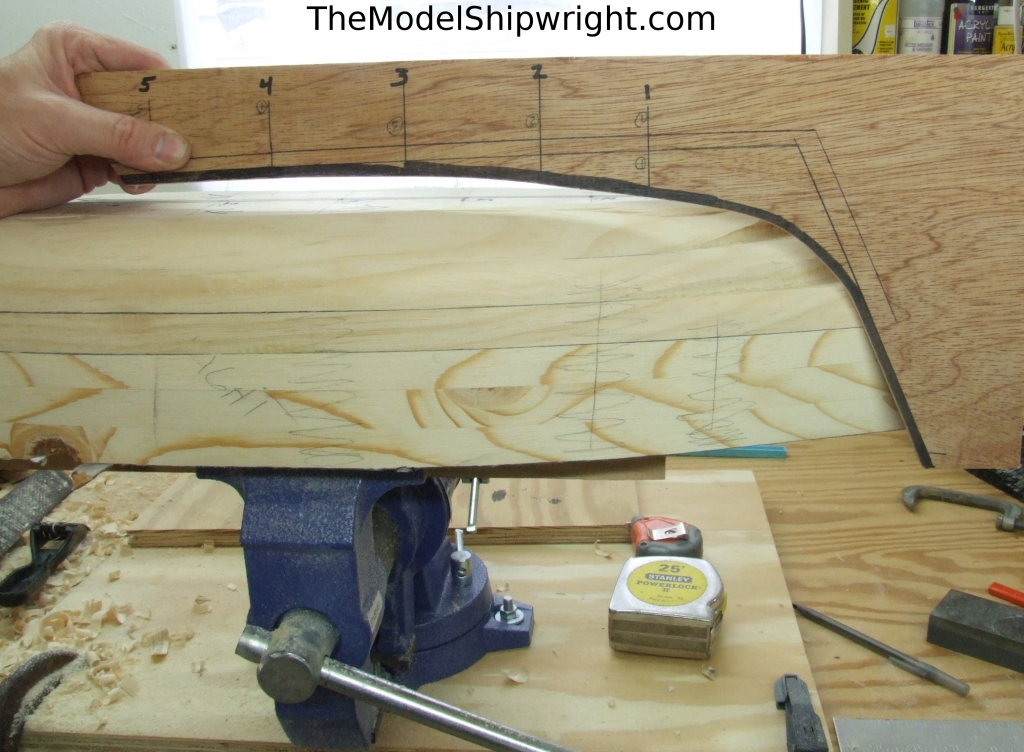
Repeat this process to mark on the hull where the flat keel transitions to the rounded stern using the stern half of the hull contour template, as shown in Figure 58. Again, you will have to hold the template off-center because the stern of the hull is still longer than the template.
And create a line at this mark parallel to the station lines, as shown in Figure 59.
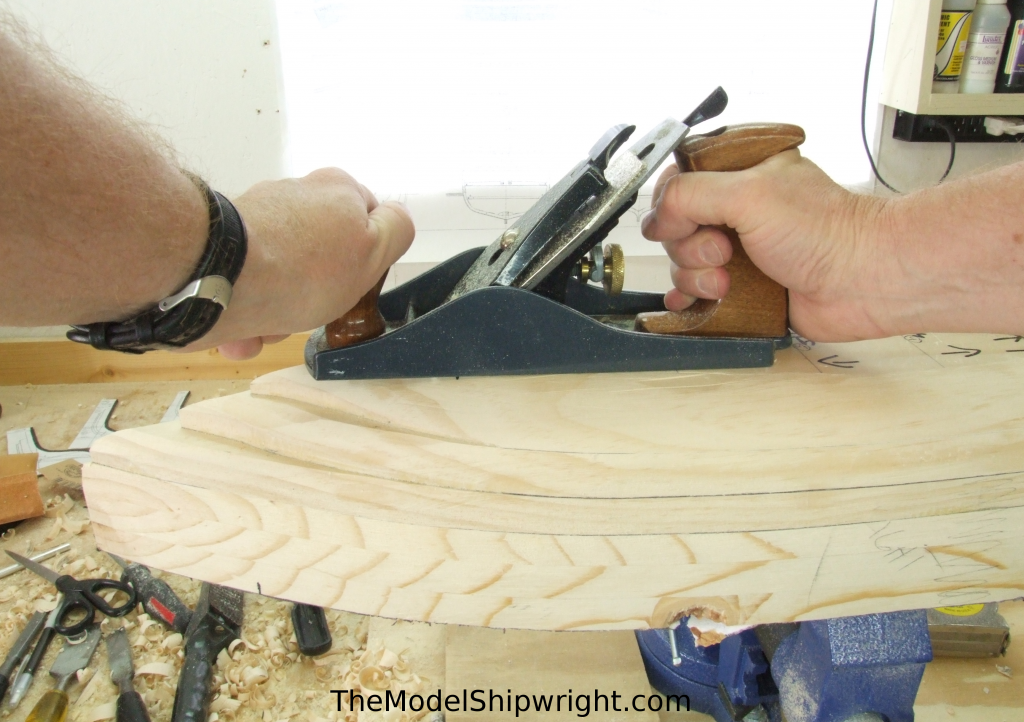
As shown in Figure 60, I used a plane to begin shaping the curve of the stem. This works well at the transition point between the keel and the stem, but as you work your way forward, you are progressively getting more and more into end grain, which tends to tear when using a plane.
So, again using the bow section of the contour template slightly off-center, with the stations lined up with those on the hull, mark the shape of the stem on the side of the bow on the hull, as shown in Figure 61.
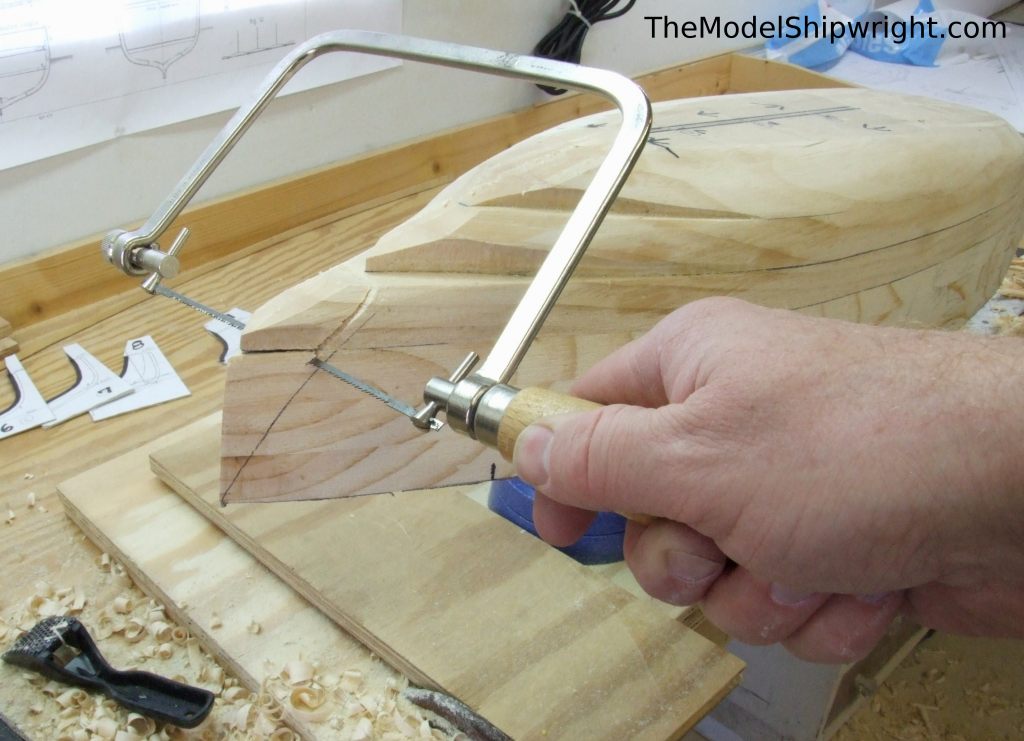
Then, using a keyhole saw, cut just a little outside the line, as shown in Figure 62.
Using the bow contour template, this time on the center-line, shade any areas on the bow that are keeping the section lines on the template from matching up with those on the hull, as shown in Figure 63.
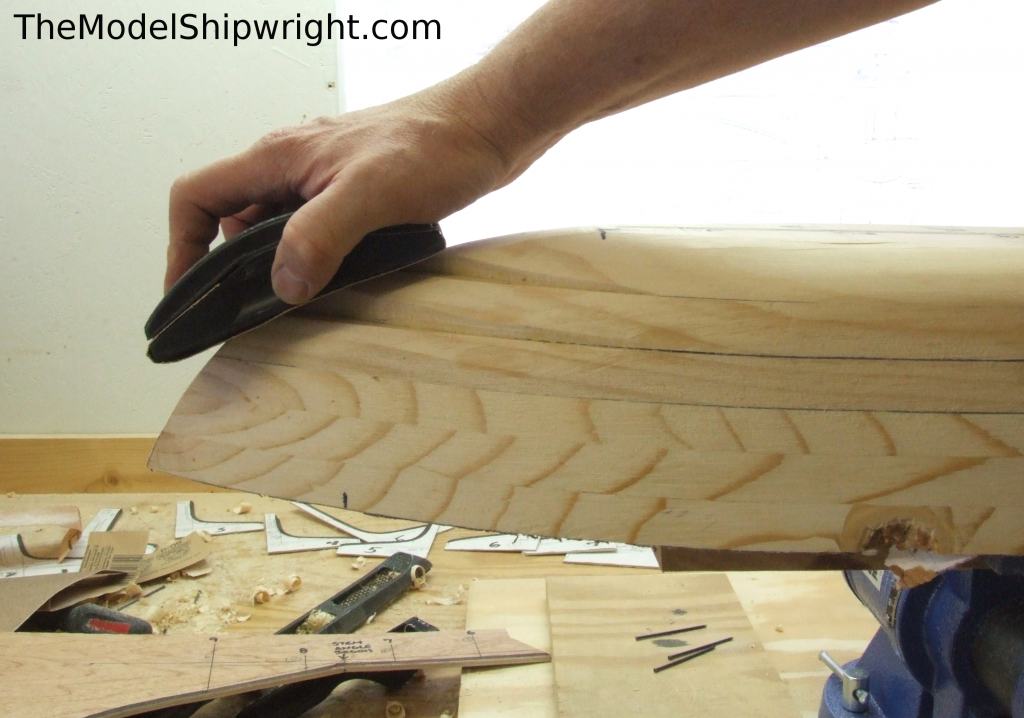
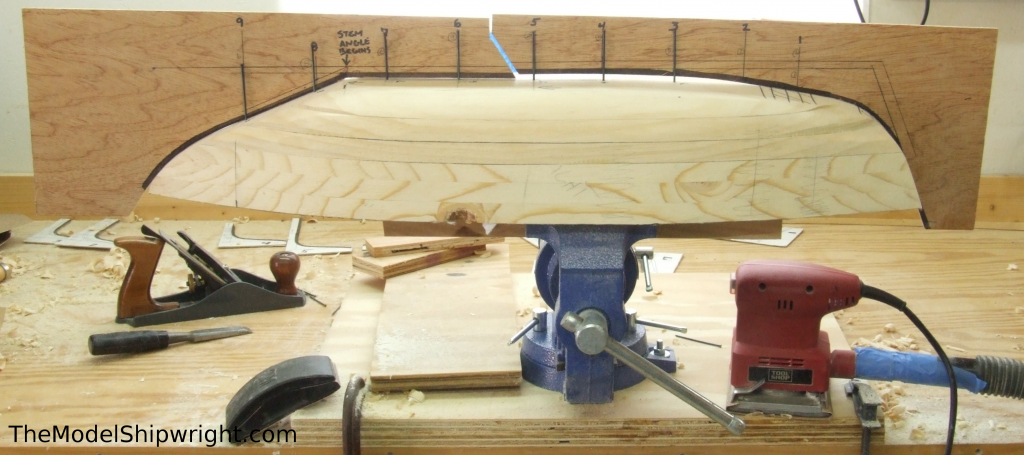
As shown in Figure 64, using a sanding block, begin removing the spots you shaded, carefully checking with the template, remarking, and sanding, until you reach the point where the bow contour template fits against the bow of the hull and the station lines on the template match up with those on the hull, as shown in Figure 65.
Repeat the process above with the stern contour template, shaping it down until the template sits on the center-line and the station marks line up. At this point, the two halves of the template should meet, as shown in Figure 66.
When finishing the hull, you will want to add a separate transom piece across the hull transom, rather than leaving the end grain of the hull block exposed, so sand down the transom on hull until the template has a gap that is the same as of the thickness of the wood you will be using for the transom, as shown in Figure 67.
Other Pages
Page 1
Page 2
Page 3
Page 4
Page 5
Page 6
*Our reprint “Selected Plates from Souvenirs de Marine” which contains this plan as well as more than 130 other ship plans, can be ordered from Amazon here.
For this project, we created three pages of plans and patterns from the original plan. We created cutting plans for the waterlines by duplicating the half-breadth plan and flipping it over to create a pattern showing the full breadth of each waterline. We also duplicated the section plan enough times to create each template needed in final shaping of the hull. Please use our Contact Page to let us know of your interest in purchasing these.
