Building the Chesapeake Bay Flattie
Apprentice Level 1 Kit by Midwest Products
Chapter 6: Planking the Hull
After assembling the keel and bulkheads in Chapter 1, adding the deck in chapter 2, installing the mast step and bow stiffeners in chapter 3, fitting the keel and chine strips in chapter 4, and installing the cabin in chapter 5, we are finally ready to start planking the hull!
But first (you knew that was coming, didn’t you?) we have one thing we have to do: Fair the Hull.
Fairing the hull is one of the most important steps in building a good ship model. One of the biggest imperfections that spoils the look of a ship model is when the curves are not “fair.” That means curved lines – which ship models are mainly composed of – don’t have a smooth, even arc from beginning to end. Any lump, bump, or drastic change along a curved edge will jump out at the viewer, and destroy the sense of realism you are trying to create. And right now – no matter how careful you have been – the edges of the deck, bulkheads, and chine strips are going to have lots of spots that don’t match up perfectly. This is not to mention that the edges of the bulkheads and the chine strips all have 90-degree corners, and the planking will actually meet them at an angle where it crosses them.
Fairing the Hull is nothing more than carefully sanding the framework to remove any high spots, adding scrap to fill any low spots, and angling the edges of the bulkheads and chine strips to match the angle at which the planking will meet them. Don’t let that intimidate you; that description is far more complex than the actual procedure.
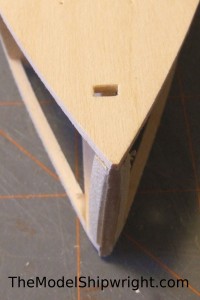
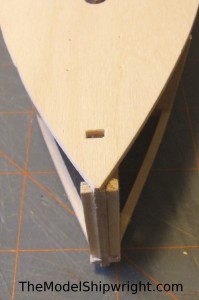
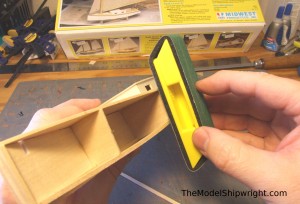
First up, we need to sand down the bow stiffeners shown in Figure 41a. The outer edge of the bow stiffeners needs to match the angle of the deck. This shaping is shown in progress in Figure 41b. Be careful not to sand the front all the way down to a point, because we need to add the stem to the front of the keel later, and need this area flat.
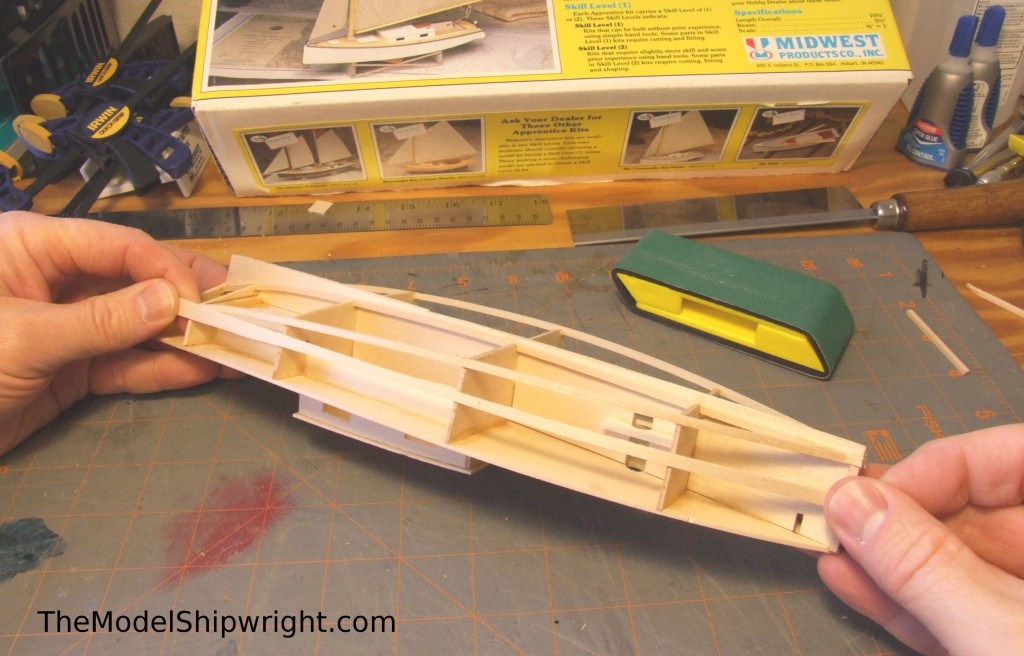
Once the bow stiffeners are shaped, we can move on the real work in Fairing the Hull, as shown in Figure 42: using a long piece of thin scrap wood as a “fairing batten” to simulate the planking you will be adding later. Hold the fairing batten against the keel stiffeners at the bow and the transom at the stern, bending it to fit as the plank will when you attach it later. Do this in various positions and examine where it crosses the bulkheads, where it meets the deck, and how it lays on the chine strips.
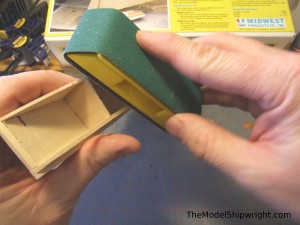
Where there is a high spot keeping the batten from laying “fair,” it will have to be sanded down as shown in Figure 43a; where there is a gap between the batten and the part below, you will have to add a small bit of scrap wood to bring it up into contact.
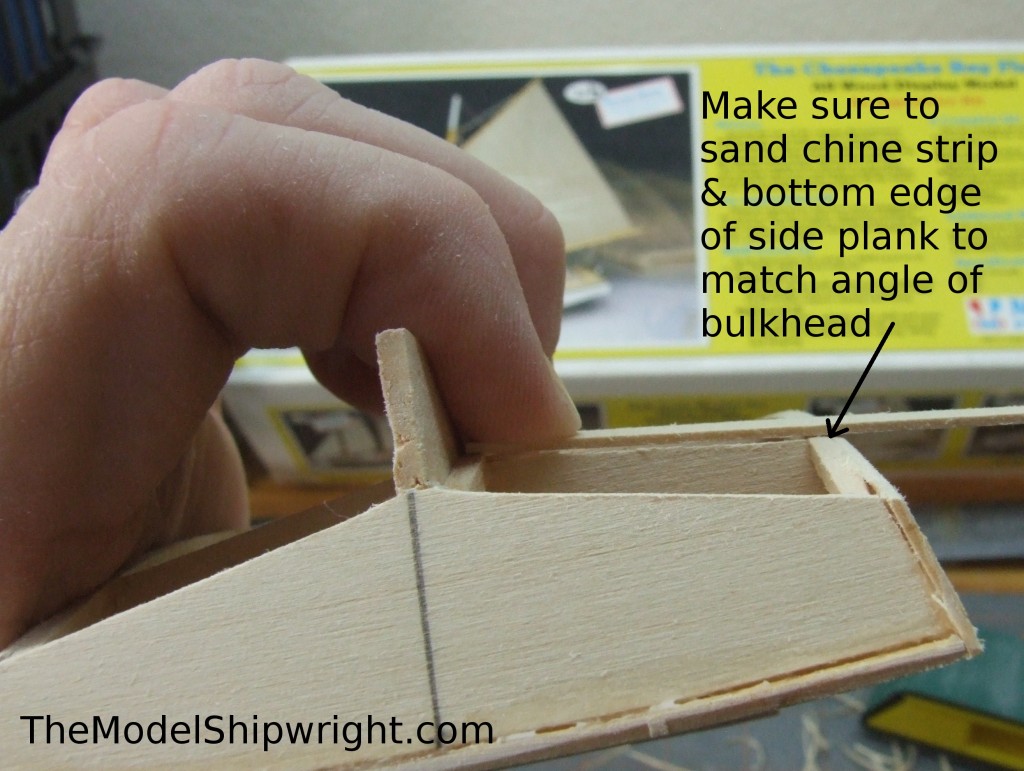
The edge of each bulkhead also needs to be sanded as shown in Figure 43b to the angle that the planking will lay across it when it is added. Work carefully, and check your progress often to avoid removing too much material.
Once everything looks fair, test fit the side planks to the hull, again looking for high or low spots. When you are sure everything is fair, on just one side of the hull apply a bead of glue to the edge of the deck, the edges of the bulkheads, transom, and keel stiffeners, and the chine strip. Holding the plank so it overlaps the hull side evenly, bend it into contact with all of the glued surfaces and hold in contact until the glue sets, as shown in Figure 44. While I am a big fan of using clamps to free myself up for other tasks while glue dries, in this case the good old-fashioned five-finger clamp often is easier to use, as your fingers can apply pressure more carefully than any mechanical clamp.
Repeat the process for the opposite side of the hull.
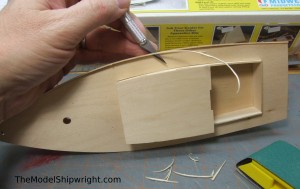
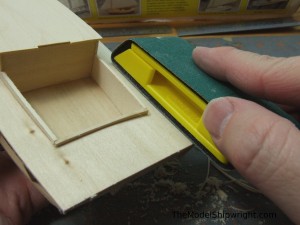
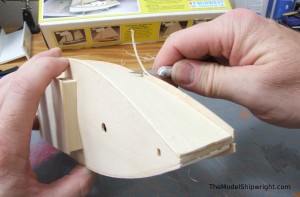
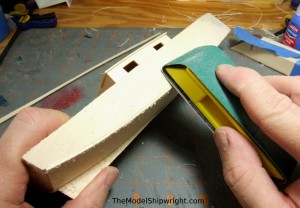
Once the glue is dry, trim the top edge of the side plank close to the level of the deck, as shown in Figure 45. Be careful to cut with the grain of the wood, or it may cut too deep. Leave the edge just above the level of the deck to avoid mistakes, and then sand it down flush with the deck as shown in Figure 46.
Trim the bottom edge of the plank the same way as the top edge, leaving it just above the level of the bottom of the chine strip. Then, as shown in Figure 47, use a small batten to see the angle to sand bottom edges of both the side plank and the keel and chine strips to match the angle of the bottom of the bulkheads. This requires a bit of finesse, as the angle of the bottom of each bulkhead is slightly different, so you need to sand a smooth transition into the bottom of the plank and chine strips between the angle of one bulkhead and the next.
Once you have the bottoms of the side planks angled to match the bottom edge of the bulkheads test fit and, when you are satisfied with the fit, apply a bead of glue to the bottoms of the bulkheads, keel and chine strips, and transom on one side, and put on the bottom plank so it is against the keel, and overhangs the side, bow, and stern evenly. To clamp on an angled surface like this, you can use a shim, as shown in Figure 48, to flatten out the angle to make it easier to keep the clamp from slipping off.
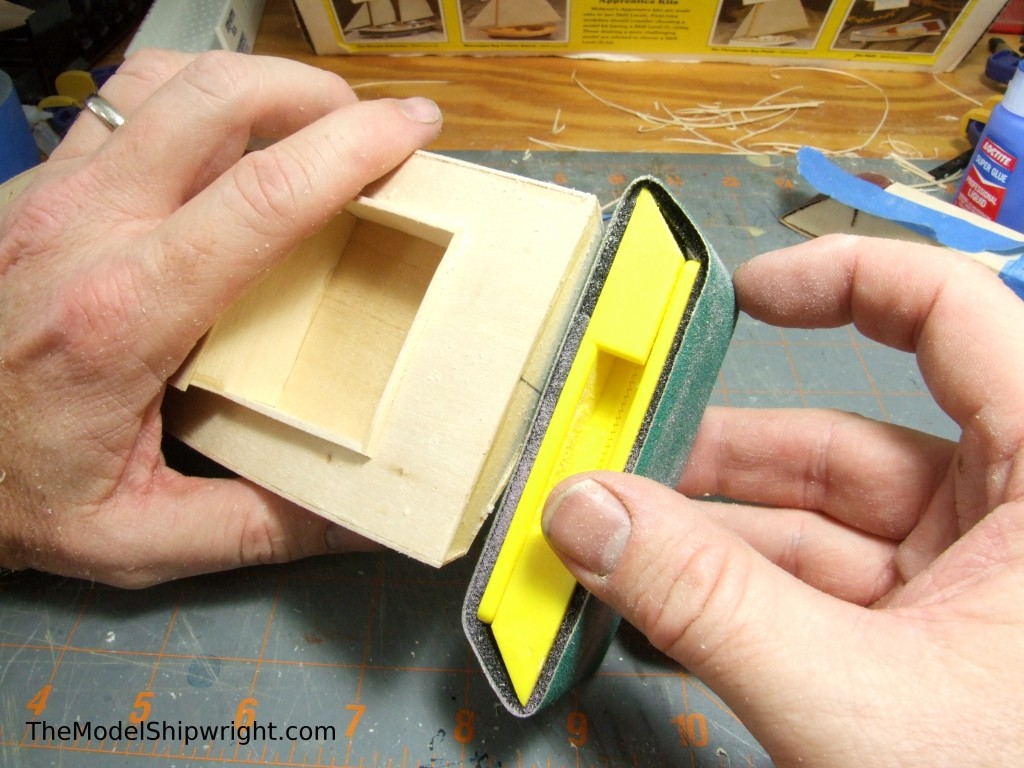
Once the bottom planks are dry, trim them with a hobby knife close to the level of the side plank, and at the same angle as the side plank as shown in Figure 49. As we did before, finish with sandpaper until the bottom plank is flush with the side plank, as shown in Figure 50. This is also a good time to sand the deck, side planks, and bottom planks flush with the transom, as shown in Figure 51.
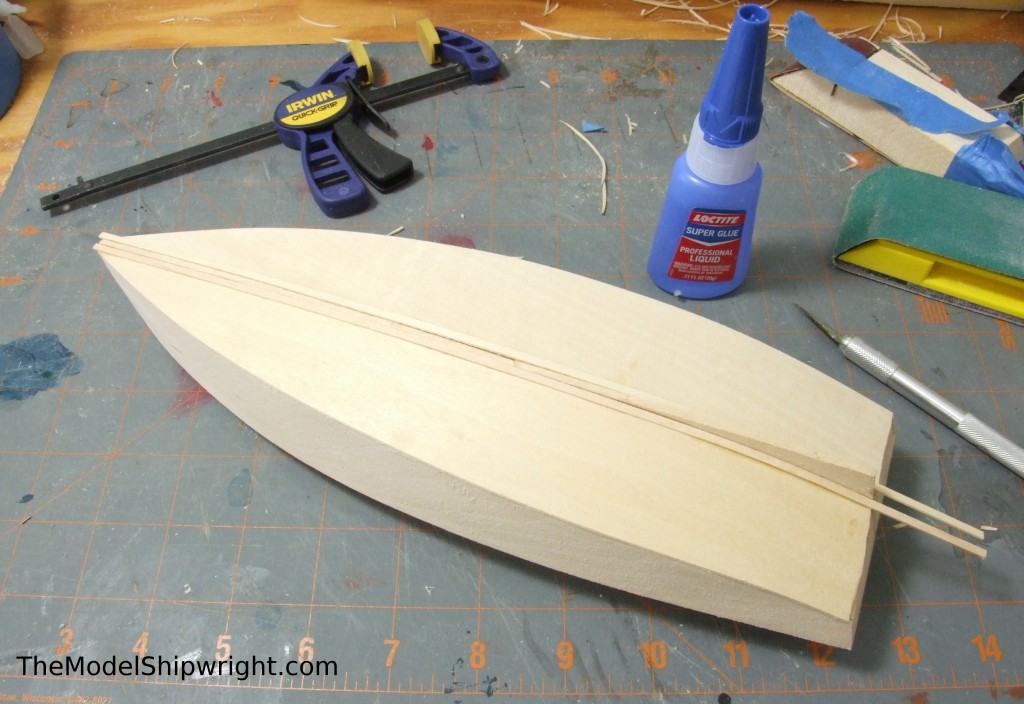
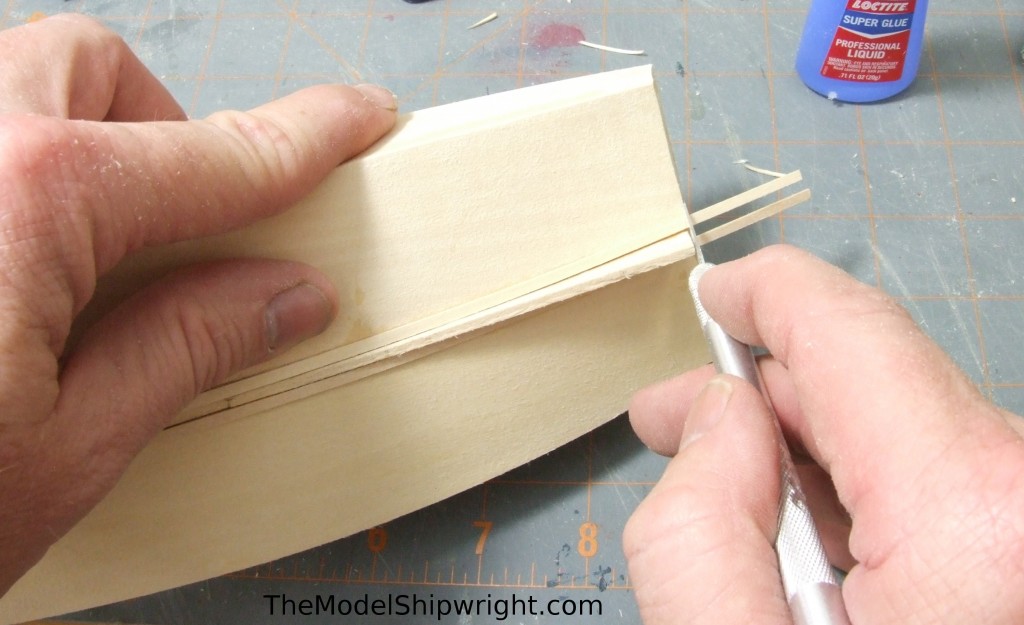
Next we glue the two 1/32” x 3/32” chafing planks along the edge of the keel, as shown in Figure 52. When the glue is dry, cut them flush with the transom as shown in Figure 53, and front of the bow stiffeners.
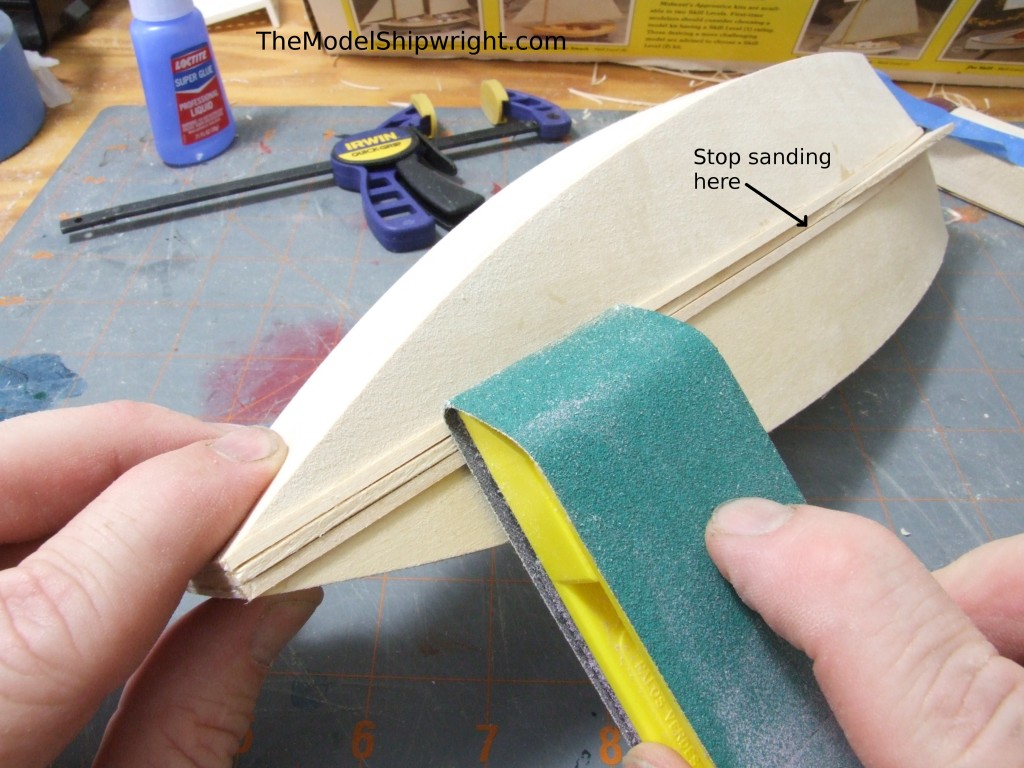
Sand the keel flush with the chafing planks from the bow back to where the keel rises up at the point marked on Figure 54.
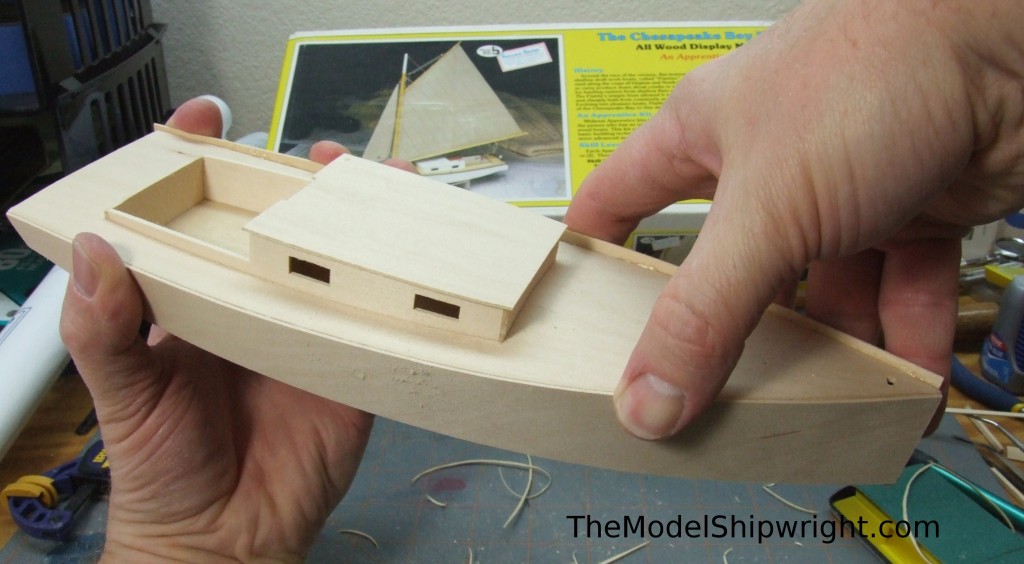
Now we have something that looks like a boat! Next we’ll begin adding a lot of the details that will make it stand out, as well as the mast and rigging, which will really set it off.
Links to chapters
Back to Chesapeake Bay Flattie Introduction
Back to Chapter 1: Assembling the Keel and Bulkheads
Back to Chapter 2: The Deck
Back to Chapter 3: The Mast Step and Bow Stiffeners
Back to Chapter 4: Keel and Chine Strips
Back to Chapter 5:Installing The Cabin
[…] Planking the Chesapeake Bay Flattie […]
This is my FIRST ‘attempt’ at anything like this! It is important that I get it not just ‘right’, but perfect! I am building this for my grand son for Christmas as his Dad is a huge fisherman, in fact trying out for the Virginia fish and game department, and they live in Chesapeake so this was very fitting!! Now, to get it perfect! I am so thankful for your expertise…now I have to find the sail and rigging pages!! I have a feeling we are going to become good friends!! You are a master, and that’s what I want. I would never go to 7-11 for brain surgery or, the local prison for legal advice!! Thanks for a great site!!
Thanks for the compliments! I’ve had a couple book projects that have taken me away from updating the Chesapeake Bay Flattie pages, but we’re close to publishing those projects, so I hope to get back and post the rigging pages soon!
Is there any update on the rigging, am I missing somethig. THANKS Don
needed help with the install of the sails and rigging but you didn’t show a single picture
You’re welcome, and I’m sorry, I’ve had several long-term book projects that have taken up my time so I haven’t been able to update the website in a long while. They are winding down, so hopefully I can catch up on the website in the next few months.
I’m also done with planking, fairing and cabin. I’d love some further info on painting, sails, and rigging!
Thanks!
Dennis
[…] Planking the Chesapeake Bay Flattie […]
Any update on the rigging and sails?
I just picked up one of these kits and have really enjoyed what you have shown so far!
Thanks for visiting the website. After losing track of the kit during a cross-country move, I’ve finally located it, and am working to carve out some time from my schedule to do more work on it.
That sounds really good! I’m at the point where you left off in hte artcle.
I’m really looking forward to see where your build goes from here.
-Mike